

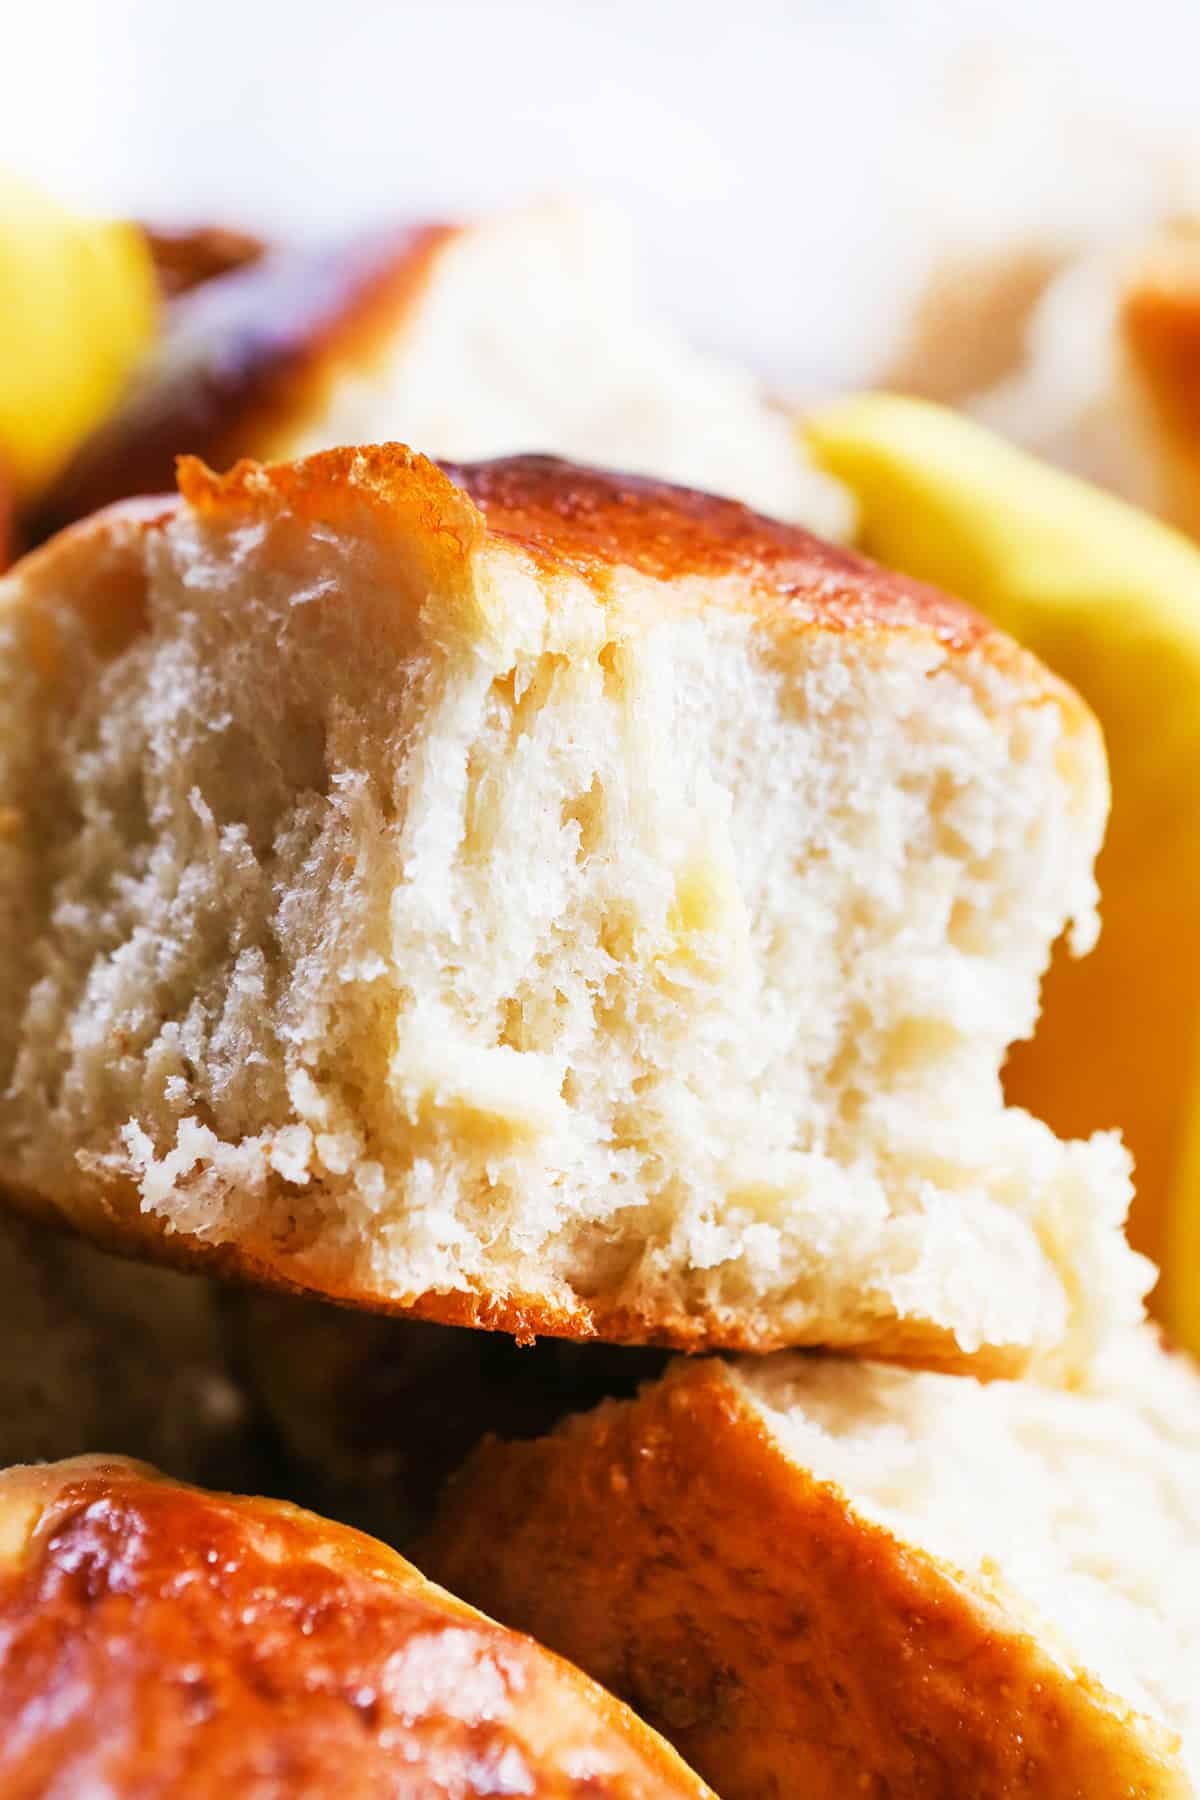
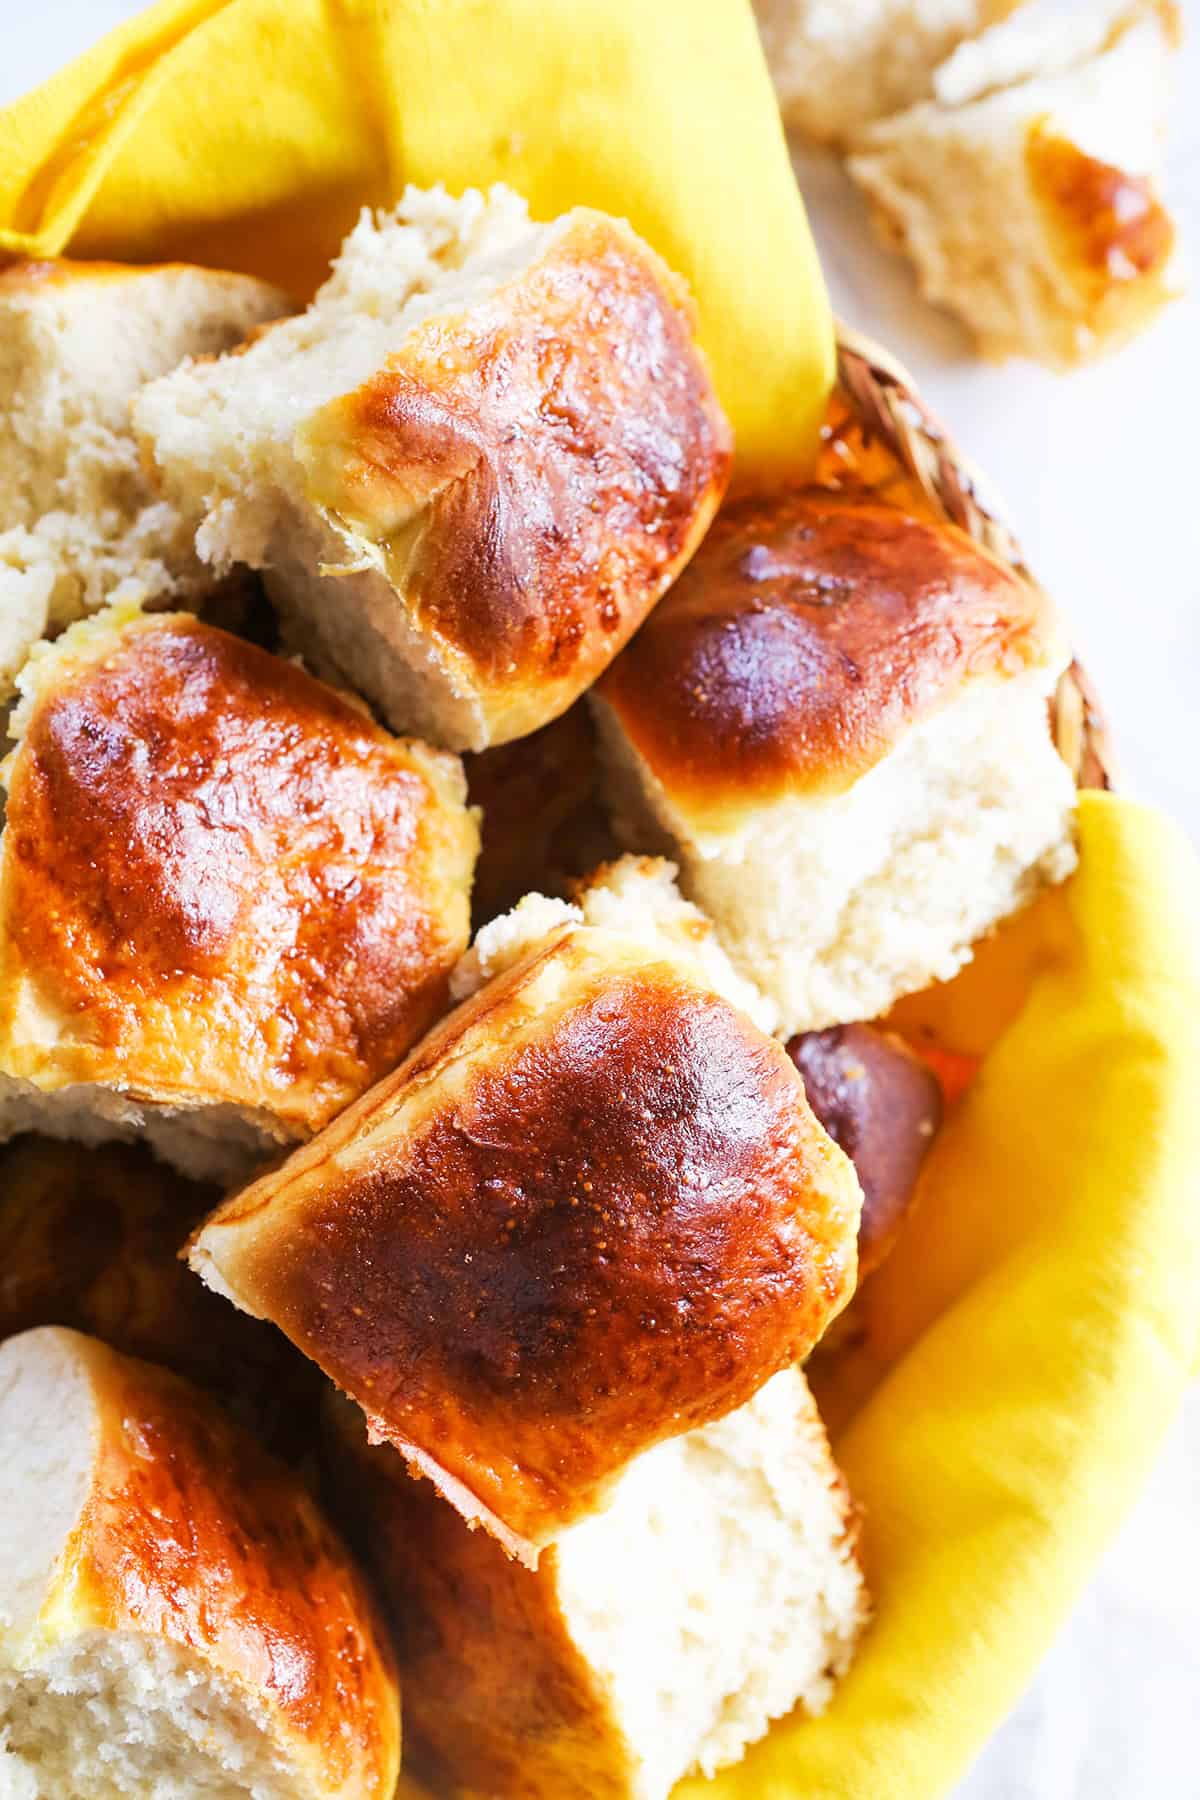
These soft, sweet dinner rolls for Thanksgiving bake together in one pan with fluffy centers, tender sides and golden tops. The dough is mixed and kneaded by hand, so you don’t need a stand mixer. Serve them warm with butter, or try the honey or maple syrup drizzle that made my family fall in love with them in the first place.
I first ate these rolls at a friend’s house in Louisiana when my boys were little. The three of us were on a three-week road trip, staying with families of “heart kids” we’d met online, and we ate GOBS of these rolls. I still remember Elijah sitting at their table, inhaling one after another. Our friends drizzled honey or maple syrup over theirs before eating, which, OMG, sends them into another realm. When we got home, I emailed my friend for the recipe.
I’ve made these homemade sweet dinner rolls every Thanksgiving since. That soft texture is what keeps me coming back, so I make room for both rises rather than rushing the dough. Plan on about three hours of rising time, with the dough doubling before you move to the next step. They take some planning, but the ingredients and hands-on steps are simple.
If you need bread on the table sooner, my easy garlic bread is a quicker option.
Why This Recipe Works
- Soft centers and tender sides. The rolls rise and bake close together in a 9×13-inch pan, making fluffy rolls you can pull apart at the table. One pan makes 15 generous rolls.
- Sweetness baked right in. A half cup of sugar sweetens the dough. Honey or maple syrup is an optional finishing touch that makes a warm roll feel like a treat.
- No stand mixer needed. Mix the dough with a wooden spoon and knead it by hand using regular all-purpose flour.
- Clear cues for both rises. Let the dough double in size before shaping, then let the shaped rolls double before baking. Those visual cues help you account for how warm your kitchen is.
Recipe Ingredients
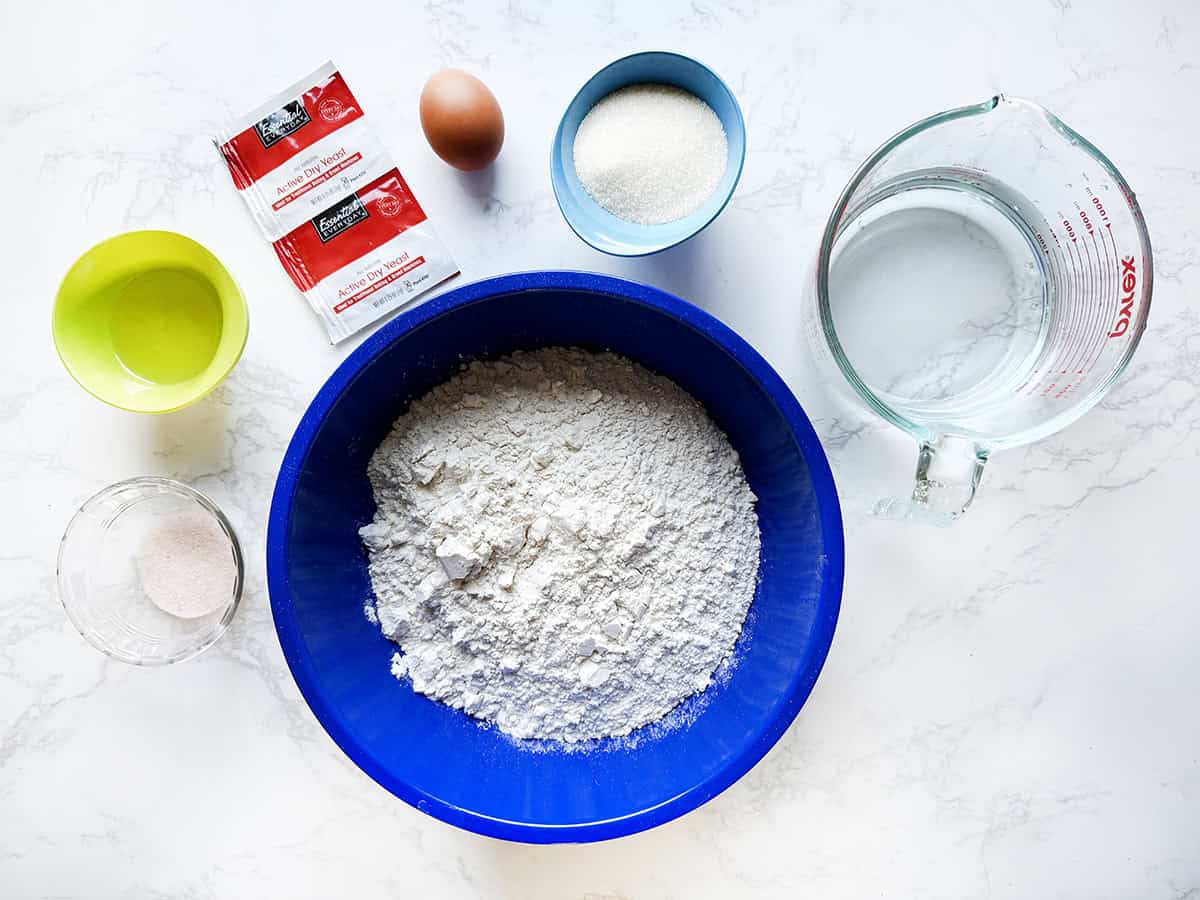
Warm water: Aim for 105–115°F to help activate the yeast. A thermometer takes the guesswork out of this step, since water that is too hot can kill the yeast.
Active dry yeast: You’ll need two standard packets, totaling ½ ounce. Check the expiration date before starting, especially if the yeast has been sitting in your pantry for a while.
Salt: Salt balances the sweetness of the rolls. I typically use Himalayan salt. For consistent results, use the same type and grind each time you make them.
Granulated sugar: The ½ cup of sugar gives these homemade sweet dinner rolls their sweetness. Use regular white granulated sugar.
Oil: Vegetable oil or canola oil works in the dough and for coating the bowl. Oil helps keep the rolls tender.
All-purpose flour: Regular all-purpose flour is all you need. Spoon it into your measuring cup and level it off rather than scooping directly from the bag. Use a light hand with the extra flour for kneading, since too much can make the rolls dense and dry.
Egg: The beaten egg is brushed over the shaped rolls just before baking to give them golden, glossy tops. It does not go into the dough.
How to Make Sweet Dinner Rolls for Thanksgiving
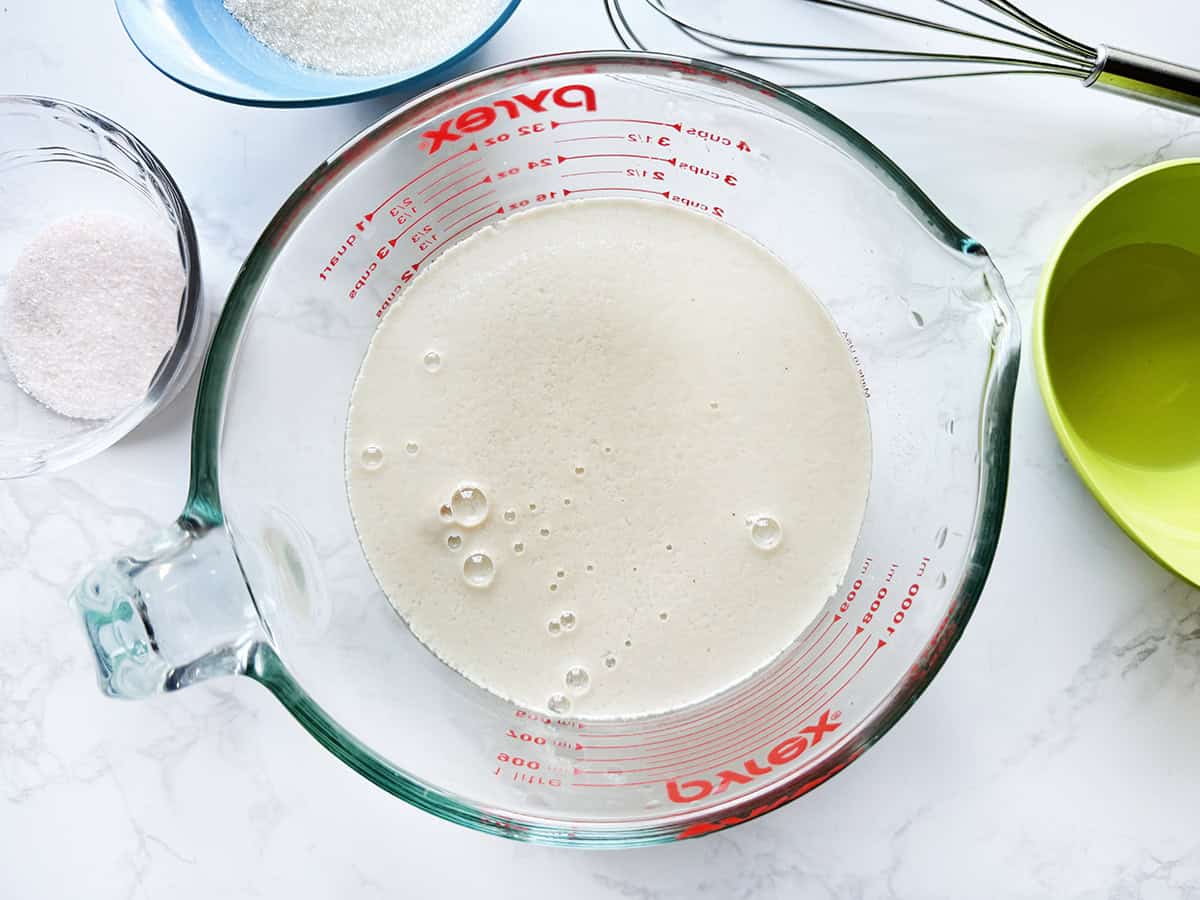
- Activate the yeast. Pour 2 cups of warm water (105–115°F) into a large mixing bowl. Sprinkle both packets of active dry yeast over the top and let sit for about 5 minutes, until the mixture looks cloudy. Whisk briefly.
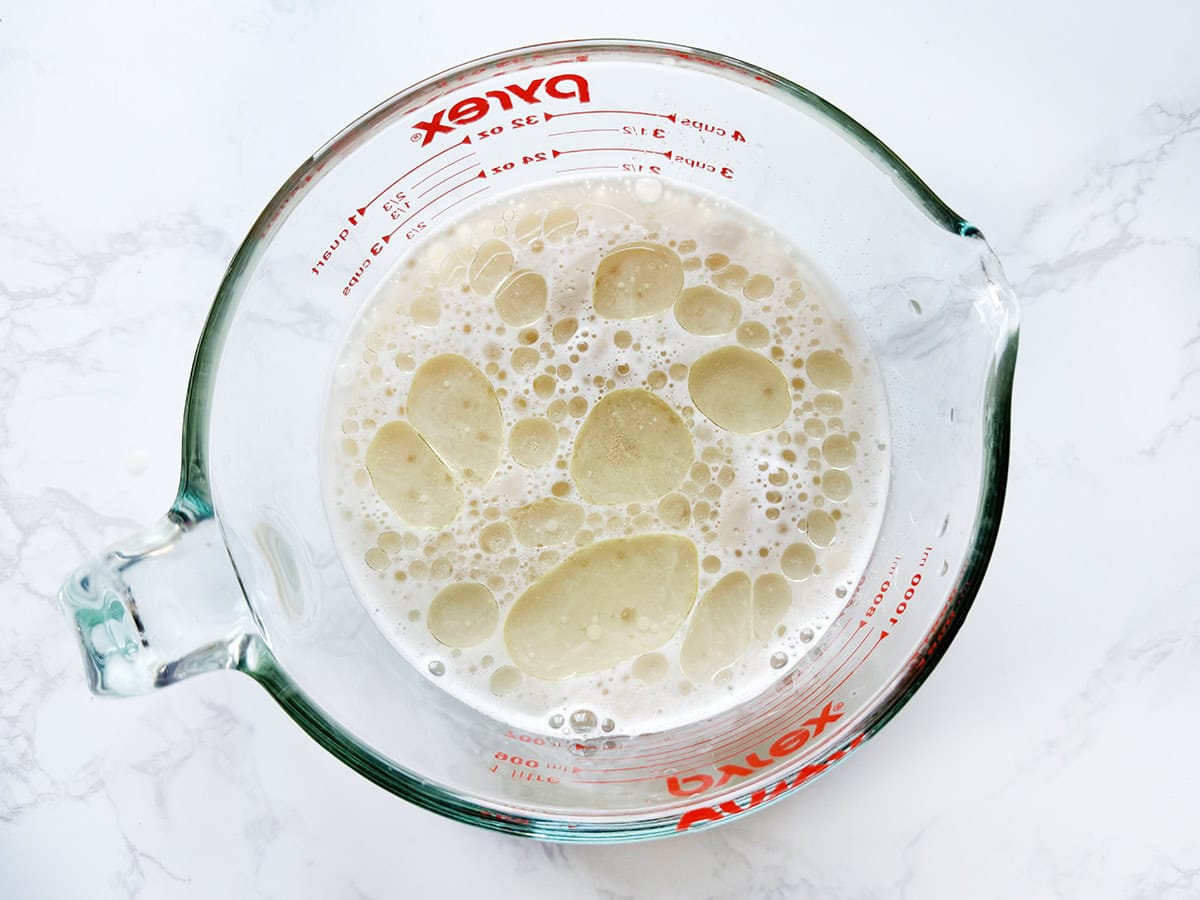
- Add the sugar, salt and oil. Add the salt, granulated sugar and vegetable oil. Whisk for about 1 minute, until the salt and sugar have dissolved.
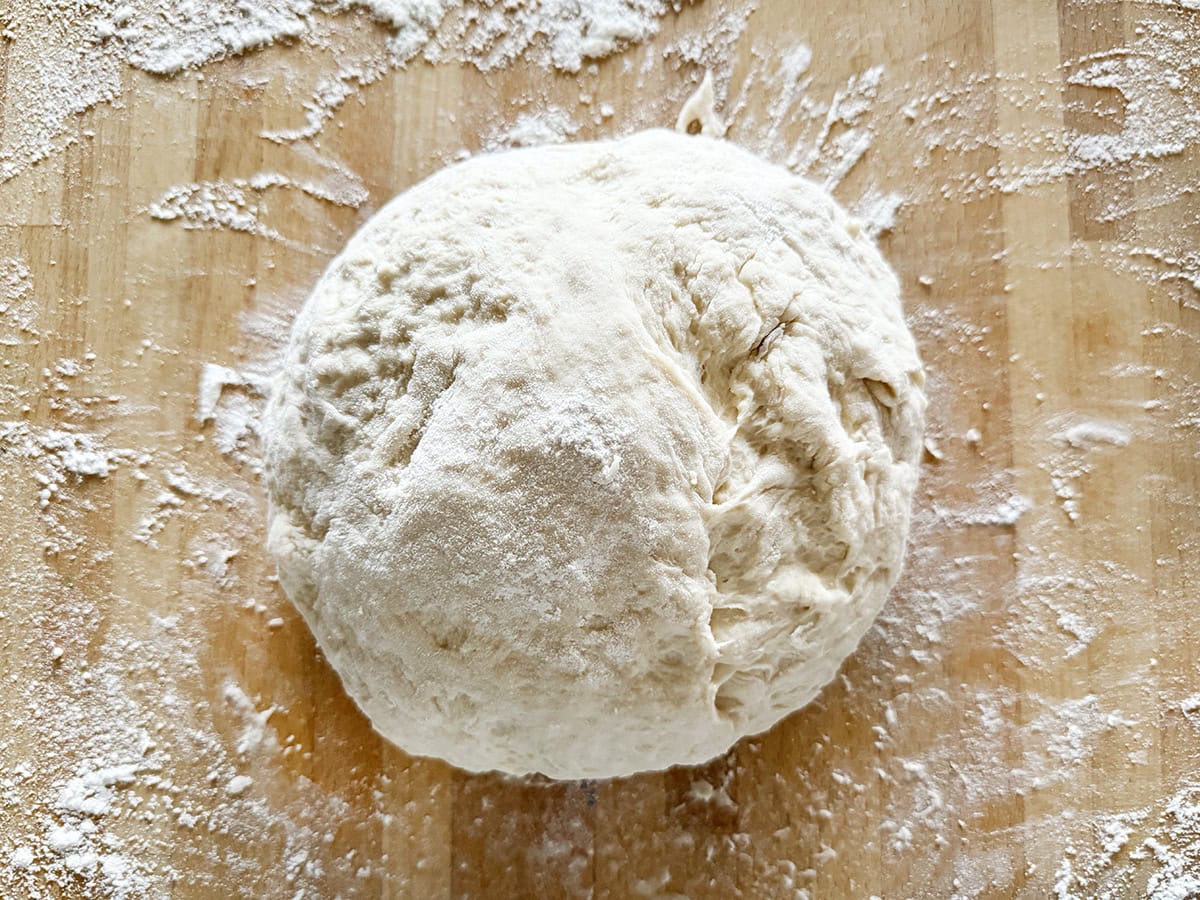
- Mix and knead the dough. Using a wooden spoon, stir in the flour 1 cup at a time. Transfer the dough to a lightly floured surface and knead for approximately 3 minutes, until soft and pliable. Use only enough extra flour to keep it from sticking.
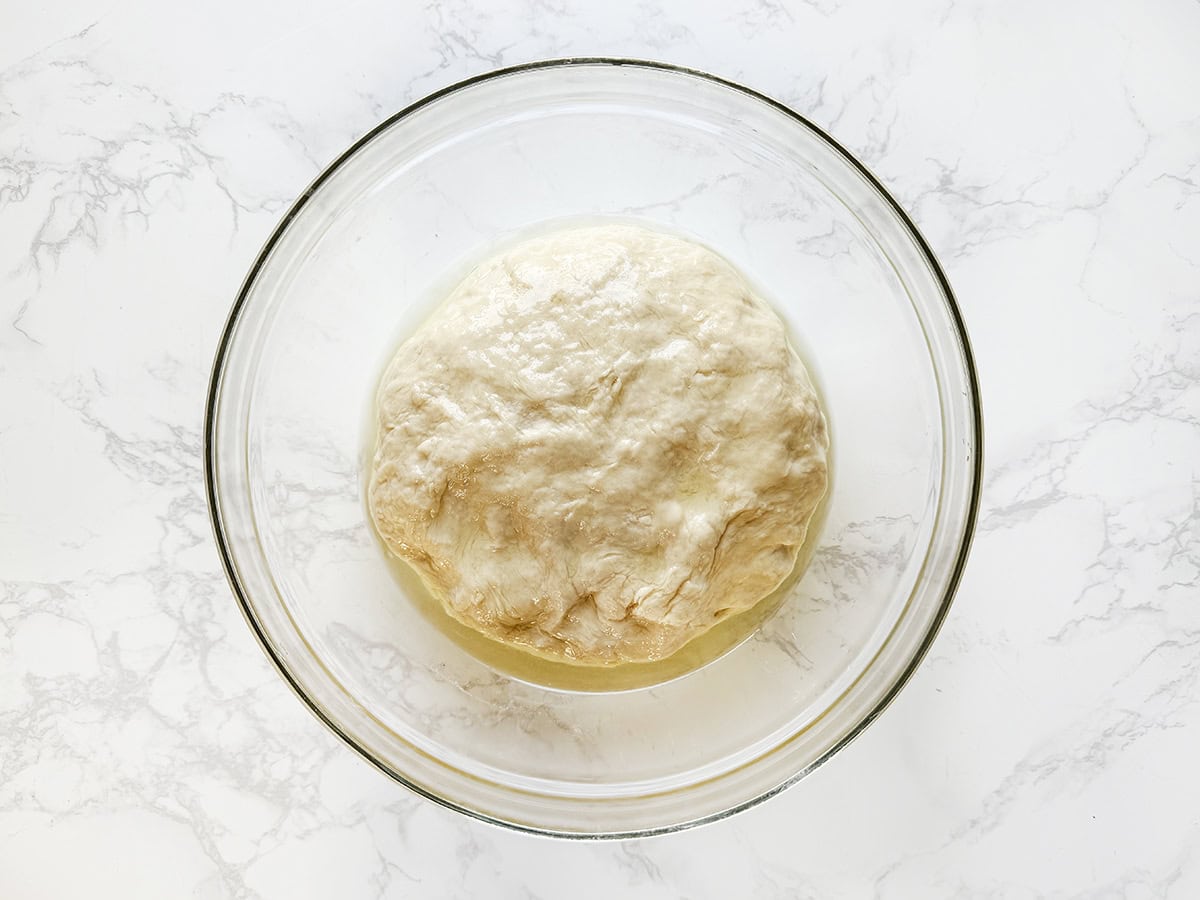
- Let the dough rise. Place the dough in a large, lightly oiled bowl and turn to coat with oil. Cover and let rise in a warm spot for about 1 hour, or until doubled in size.
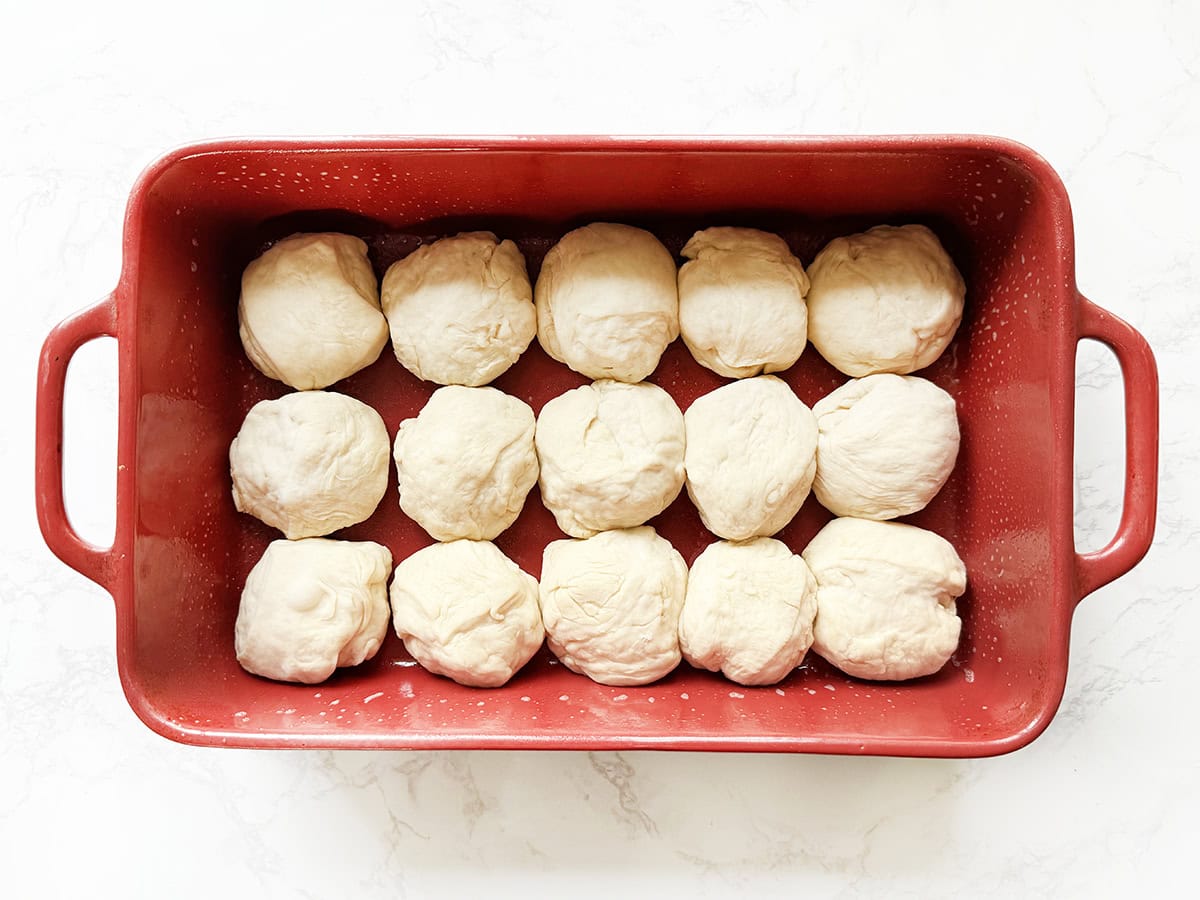
- Shape the rolls. Transfer the dough to a lightly floured surface and gently knead for 3–5 minutes. Divide into 15 equal pieces and roll each into a ball. Arrange in a generously greased 9×13-inch baking dish in 3 rows of 5.
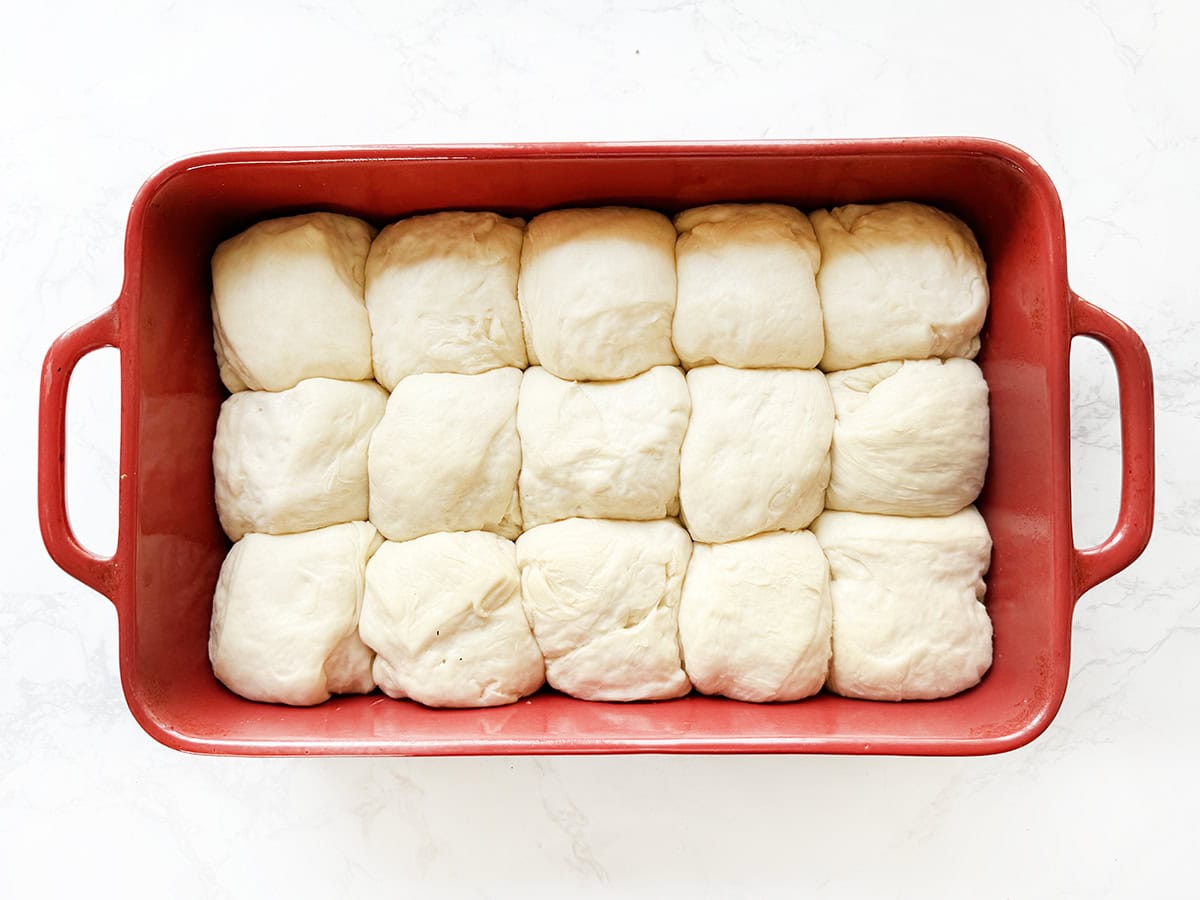
- Let the rolls rise again. Cover the baking dish and let rise in a warm spot for about 2 hours, or until doubled in size. The rolls should look puffy and fill more of the pan. A cooler kitchen may require extra rising time.
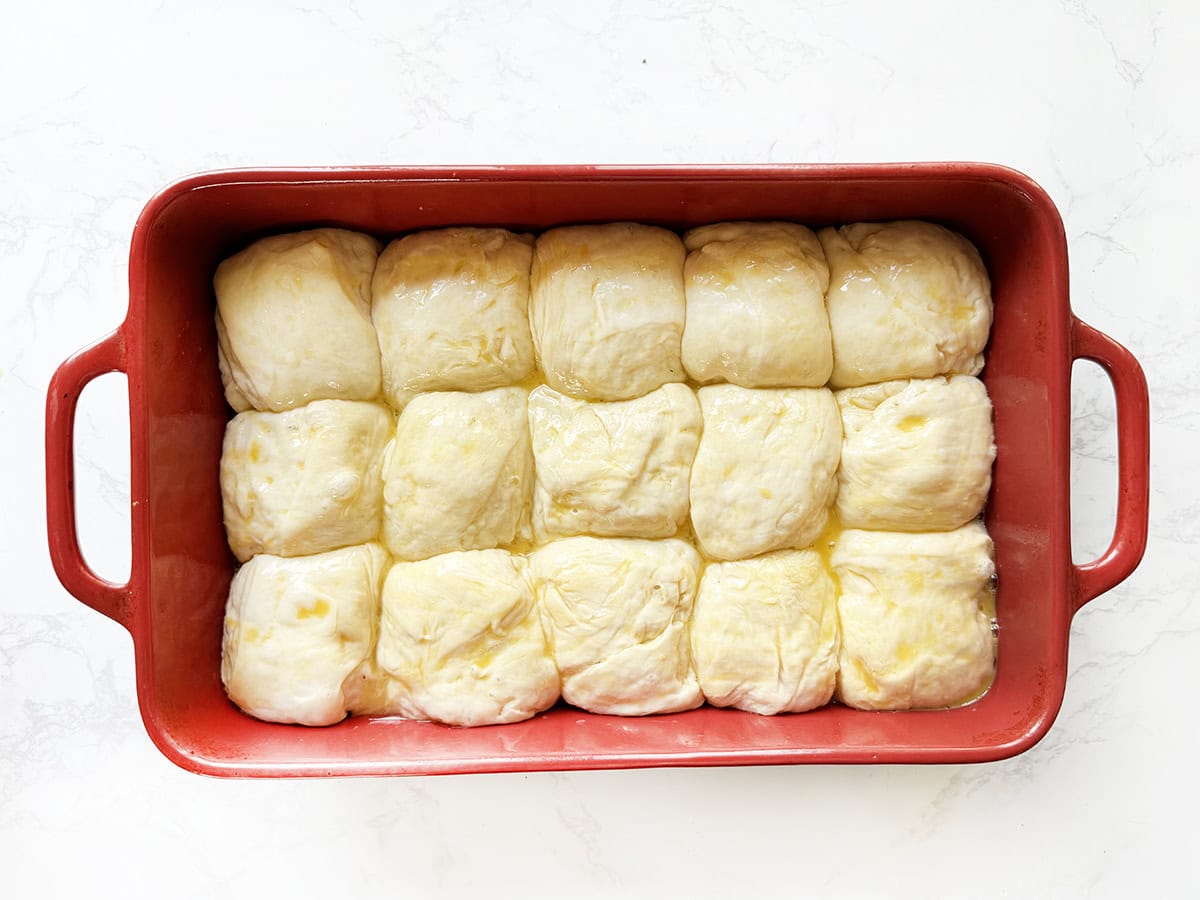
- Brush with egg. Preheat the oven to 400°F. Gently brush the tops of the risen rolls with the beaten egg, taking care not to deflate the dough.
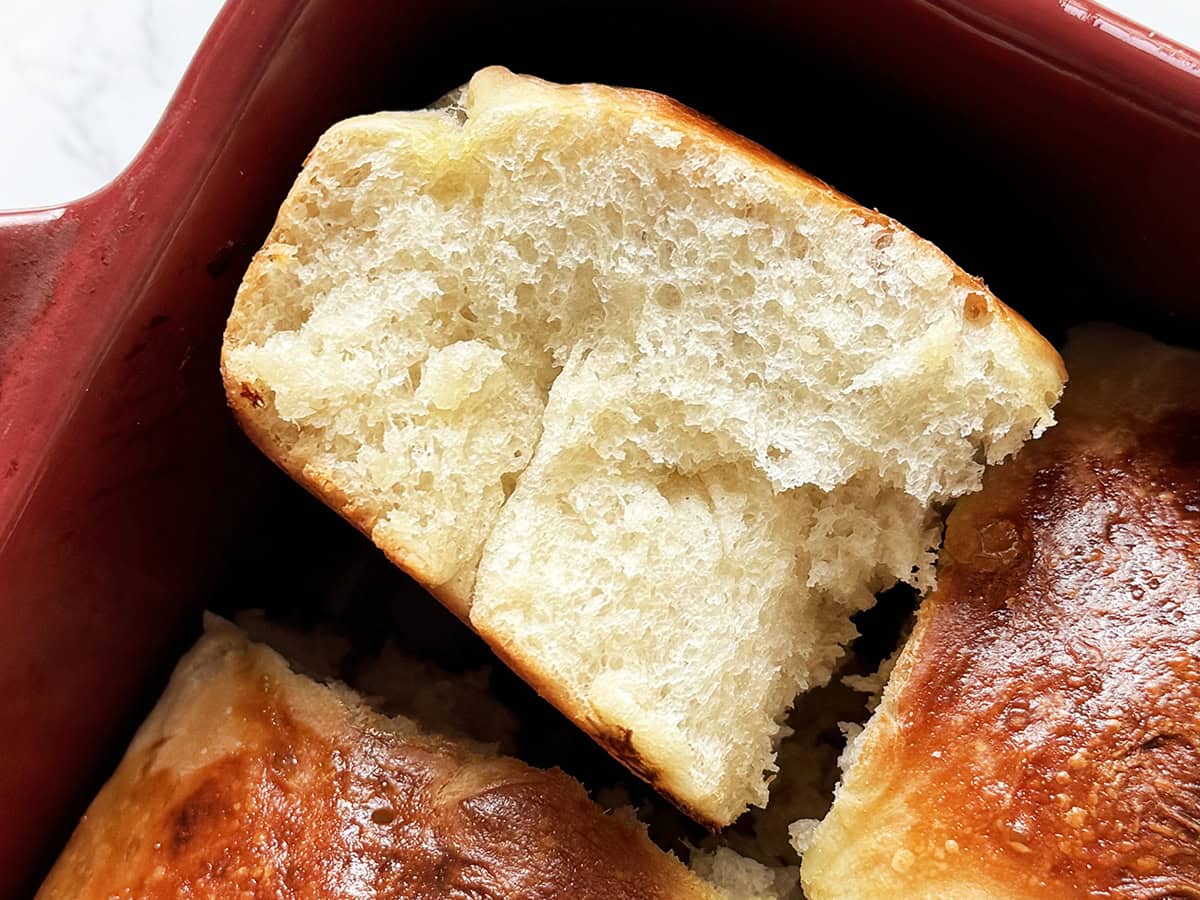
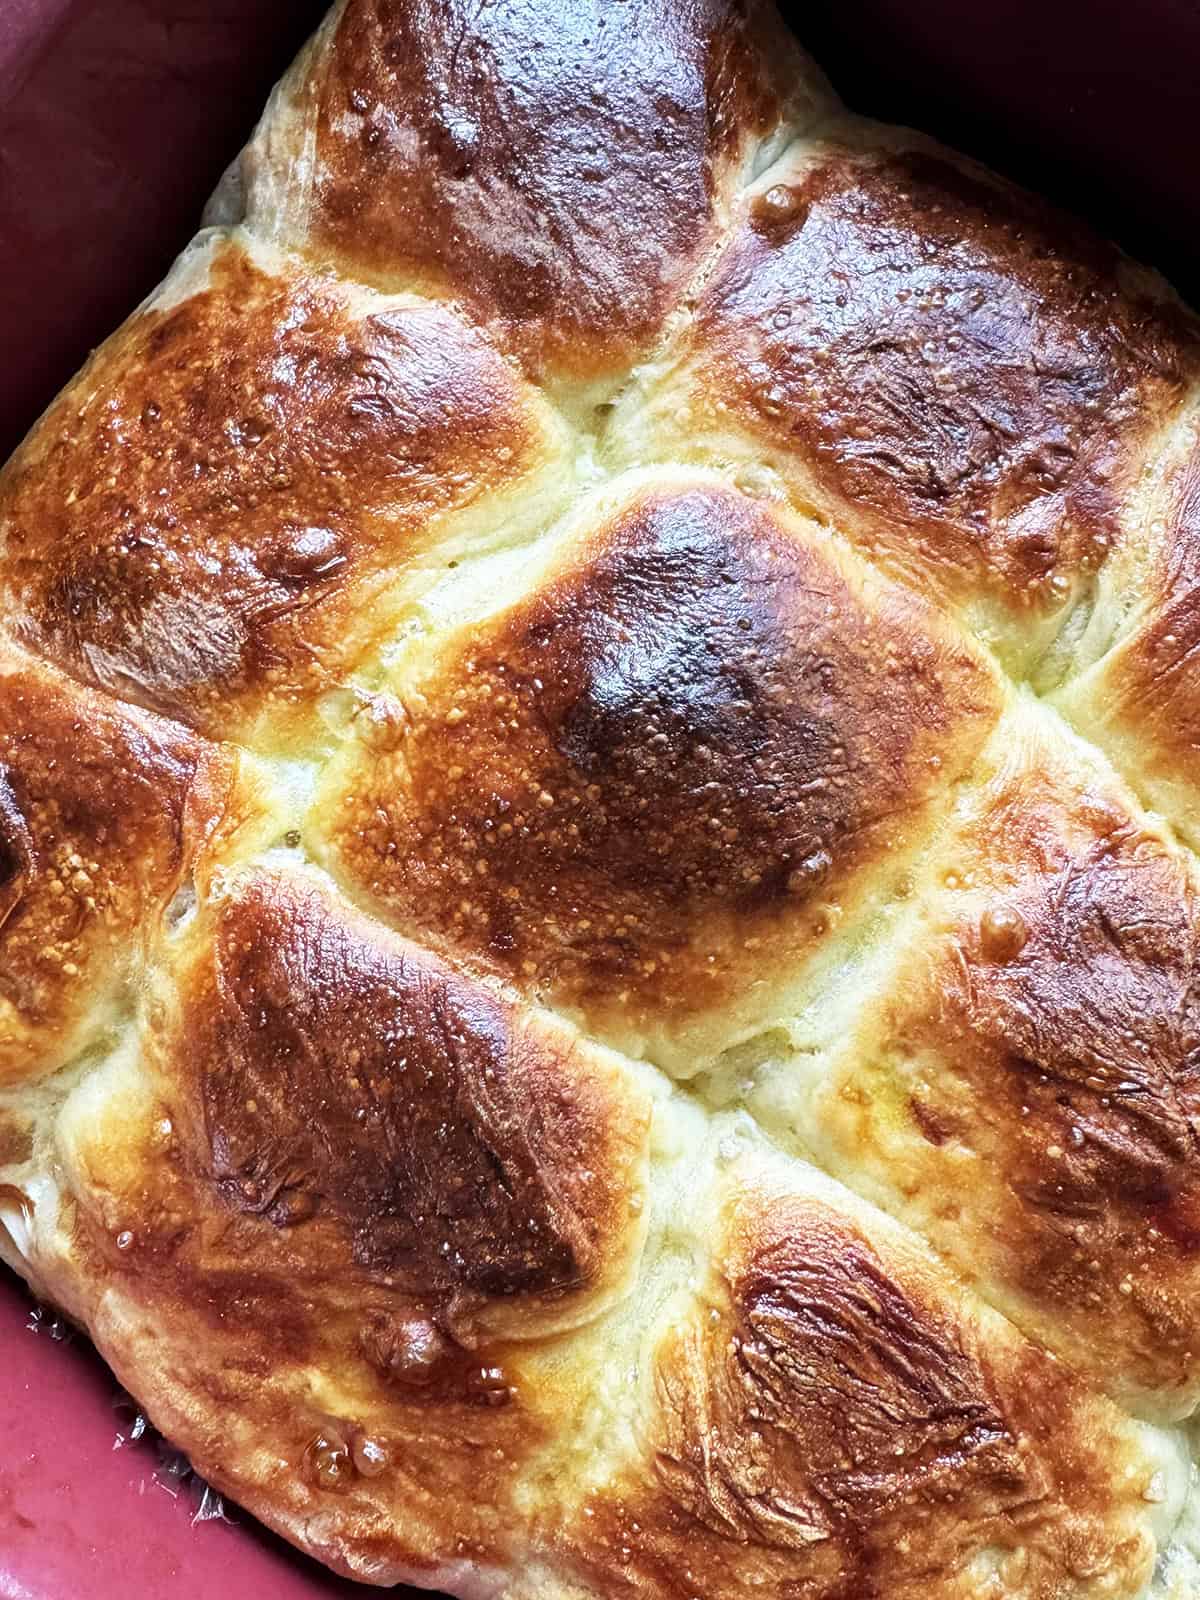
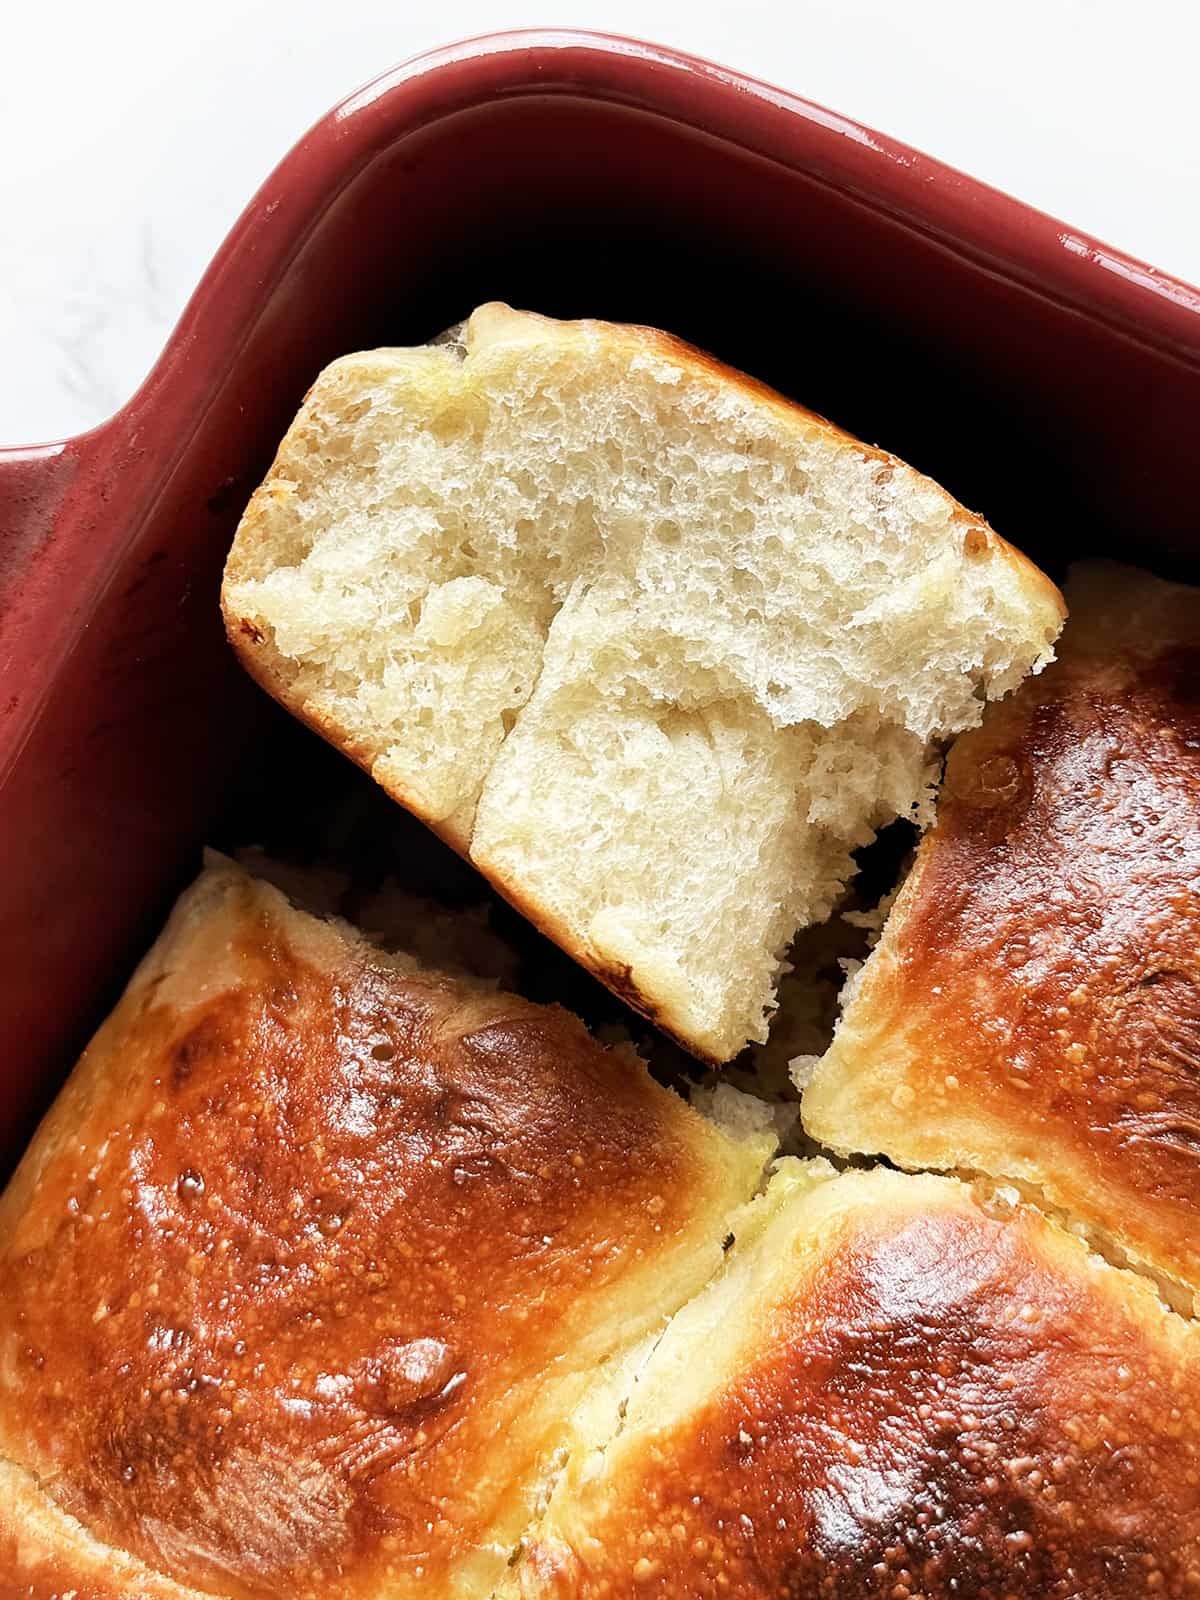
- Bake and serve. Bake for about 20 minutes, until the tops are golden brown. Separate at the seams and serve warm with butter, honey or maple syrup.
Recipe Notes
- An optional boost for the yeast. Sprinkle a pinch of sugar from the measured ½ cup over the yeast and warm water. This can help encourage activity, but it isn’t required.
- Keep the dough covered during both rises. Choose a comfortably warm spot, away from drafts and direct heat. Near a sunny window or a warm appliance can work well.
- Watch the dough, not just the clock. Let it double in size during each rise. The suggested times are a guide, and a cooler kitchen may require more patience.
- Go lightly with extra flour. The dough should feel soft and slightly tacky. Add just enough flour to prevent sticking while kneading, since too much can make the finished rolls dry and dense.
- Give the dough gentle-firm love. Knead with steady pressure, then gently shape the individual rolls. After their second rise, handle them carefully so they stay puffy.
- Try a sweet topping. Serve warm with a drizzle of honey or maple syrup, just like our Louisiana friends did. Honey butter or homemade apple butter is wonderful, too!
What to Serve With Homemade Dinner Rolls
These sweet, fluffy rolls have a permanent place beside the turkey at my Thanksgiving table. They’re also great for soaking up gravy or rounding out a plate of your favorite holiday sides.
For an everyday dinner, serve them with lasagna, Instant Pot rotisserie chicken or chili mac and cheese. Their sweetness pairs nicely with a hearty, savory meal.
How to Store, Freeze and Reheat Dinner Rolls
- Store: Let the rolls cool completely, then store in an airtight container at room temperature for up to 3 days.
- Freeze: Wrap cooled rolls tightly and place in a freezer bag. Freeze for up to 1 month for best quality, then thaw at room temperature.
- Reheat: Wrap the rolls in foil and warm in a 350°F oven until heated through, checking after 5 minutes. For an individual roll, microwave in 5–10-second increments just until warm.
For Thanksgiving prep, bake the rolls the day before, cool completely and store airtight. Warm them before serving so you can spend less time managing dough on the holiday.
Frequently Asked Questions
What yeast should I use for dinner rolls?
This recipe uses active dry yeast, which is activated in warm water before adding the remaining ingredients. Instant yeast is another common option for bread baking, but it can change the rising time. For these rolls, follow the recipe with active dry yeast and check its expiration date before starting.
Can I make these dinner rolls ahead of time?
Yes! Bake the rolls the day before, let them cool completely and store in an airtight container at room temperature. Before serving, wrap them in foil and warm in a 350°F oven until heated through, checking after 5 minutes.
For longer storage, freeze the fully baked, cooled rolls as described in the storage section above.
Why isn’t my dinner roll dough rising?
Check the yeast, water temperature and room temperature. Old or inactive yeast may not work, and water that is too hot can kill it. Aim for 105–115°F when activating the yeast.
A cool kitchen slows rising, so give the dough extra time in a comfortably warm spot, away from drafts and direct heat. Keep it covered so the surface doesn’t dry out.
Can dinner roll dough rise too long?
Yes. Dough that rises too long can become fragile, lose its structure and collapse when handled or baked.
For this recipe, look for the dough to double during each rise. Before baking, the shaped rolls should look puffy. A gentle poke should leave an indentation that returns slowly or remains partly visible. Dough that springs back immediately generally needs more time; dough that collapses may be overproofed.
How can I fix overproofed roll dough?
You may be able to rescue it by gently deflating and reshaping it. If the dough is still in the bowl, gently press out the excess gas and shape it into rolls. If the rolls are already shaped, gently deflate and reshape each one.
Return them to the greased baking dish, cover and let rise again until puffy. Check frequently, since this rise may happen faster. Recovery isn’t guaranteed, especially if the dough has severely overproofed.
More Thanksgiving Recipes
Planning the rest of your Thanksgiving menu? Pair these sweet dinner rolls with a few of my favorite holiday sides:
- Mom’s mashed potatoes: A family recipe that belongs beside a warm roll and a spoonful of gravy.
- Homemade cranberry sauce: A sweet-tart addition to the table that’s simple to make from scratch.
- Instant Pot mashed potatoes: A practical option when your stovetop is already busy with other Thanksgiving dishes.
- Sweet potato casserole: A holiday favorite with a pecan topping.
- Crockpot stuffing with leeks and sausage: Let the slow cooker handle the stuffing while your oven is busy with turkey and rolls.
- Mac and cheese recipes for Thanksgiving: Browse the roundup to find a mac and cheese recipe that fits your menu and cooking schedule.
Will you help add value to Pip and Ebby?
If you make this recipe and love it, stop back and give it a 5-star rating ⭐️⭐️⭐️⭐️⭐️ and leave a comment. THANK YOU!

Soft Sweet Dinner Rolls for Thanksgiving
Ingredients
- 2 cups warm water 105–115°F
- 1/2 oz active dry yeast 2 standard packets
- 1 tbsp salt
- 1/2 cup granulated sugar
- 1/4 cup vegetable oil plus extra for coating the bowl
- 5 cups all-purpose flour plus extra for kneading
- 1 egg beaten, for brushing the tops
Instructions
- Pour the warm water into a large mixing bowl. Sprinkle the yeast over the top and let sit for about 5 minutes, until the mixture looks cloudy. Whisk briefly.2 cups warm water, 1/2 oz active dry yeast
- Add the salt, sugar and vegetable oil. Whisk for about 1 minute, until the salt and sugar have dissolved.1 tbsp salt, 1/2 cup granulated sugar, 1/4 cup vegetable oil
- Using a wooden spoon, stir in the flour 1 cup at a time. Transfer the dough to a lightly floured work surface and knead for approximately 3 minutes, until soft and pliable. Add only enough extra flour to prevent sticking.5 cups all-purpose flour
- Lightly oil a clean, large bowl. Add the dough and turn to coat with oil. Cover and let rise in a warm spot for about 1 hour, or until doubled in size.
- Generously grease a 9×13-inch baking dish. Transfer the dough to a lightly floured surface and gently knead for 3–5 minutes. Divide into 15 equal pieces and shape each into a ball. Arrange in the prepared dish in 3 rows of 5.
- Cover and let rise in a warm spot for about 2 hours, or until the rolls have doubled in size and look puffy.
- Toward the end of the second rise, preheat the oven to 400°F. Gently brush the tops of the rolls with the beaten egg, taking care not to deflate them.1 egg
- Bake for about 20 minutes, until golden brown. Separate at the seams and serve warm with butter, honey or maple syrup.
Notes
- Rising times are approximate. Let the dough double during each rise, allowing extra time in a cool kitchen.
- Keep the dough covered in a comfortably warm spot, away from drafts and direct heat.
- Measure flour by spooning it into the measuring cup and leveling it off. Use extra flour sparingly while kneading to keep the rolls soft.
- The egg is for brushing the tops only. It does not go into the dough.
- Let leftover rolls cool completely, then store airtight at room temperature for up to 3 days. Freeze fully baked, cooled rolls for up to 1 month for best quality.
-
To reheat, wrap rolls in foil and warm in a 350°F oven until heated through, checking after 5 minutes.Watch the dough, not just the clock! Let it double during both rises, and go lightly with extra flour to keep the rolls soft and fluffy.
Nutrition

Megan Porta is a comfort food recipe creator who specializes in easy family meals and Instant Pot desserts, and the founder of Pip and Ebby. She has been cooking for three decades and developing recipes for over fifteen years, helping home cooks make reliable, cozy recipes for real life.
Leave a Reply