

This Instant Pot cake transforms a boxed cake mix into an incredibly moist, dense cake with a smooth, less porous crumb than the same cake baked in the oven. You can use any cake flavor you love, add your favorite mix-ins and turn one box of cake mix into a beautiful two-layer cake without ever turning on the oven.
I’ve made this recipe close to a hundred times, and it has never failed me. Through all that testing, I’ve learned that covering the pan tightly with foil, cooking each layer for 35 minutes and allowing a 10-minute natural release are the details that produce a dependable cake without a wet or undercooked center.
You will need a 6-inch round cake pan that fits inside your Instant Pot, but once you have one, this is such a fun and surprisingly practical way to make cake. It remains one of my favorite Instant Pot recipes because the method is simple, the texture is consistently wonderful and nobody ever guesses it started with a box mix.
Looking for more sweet treats? Check out my collection of the best Instant Pot desserts.
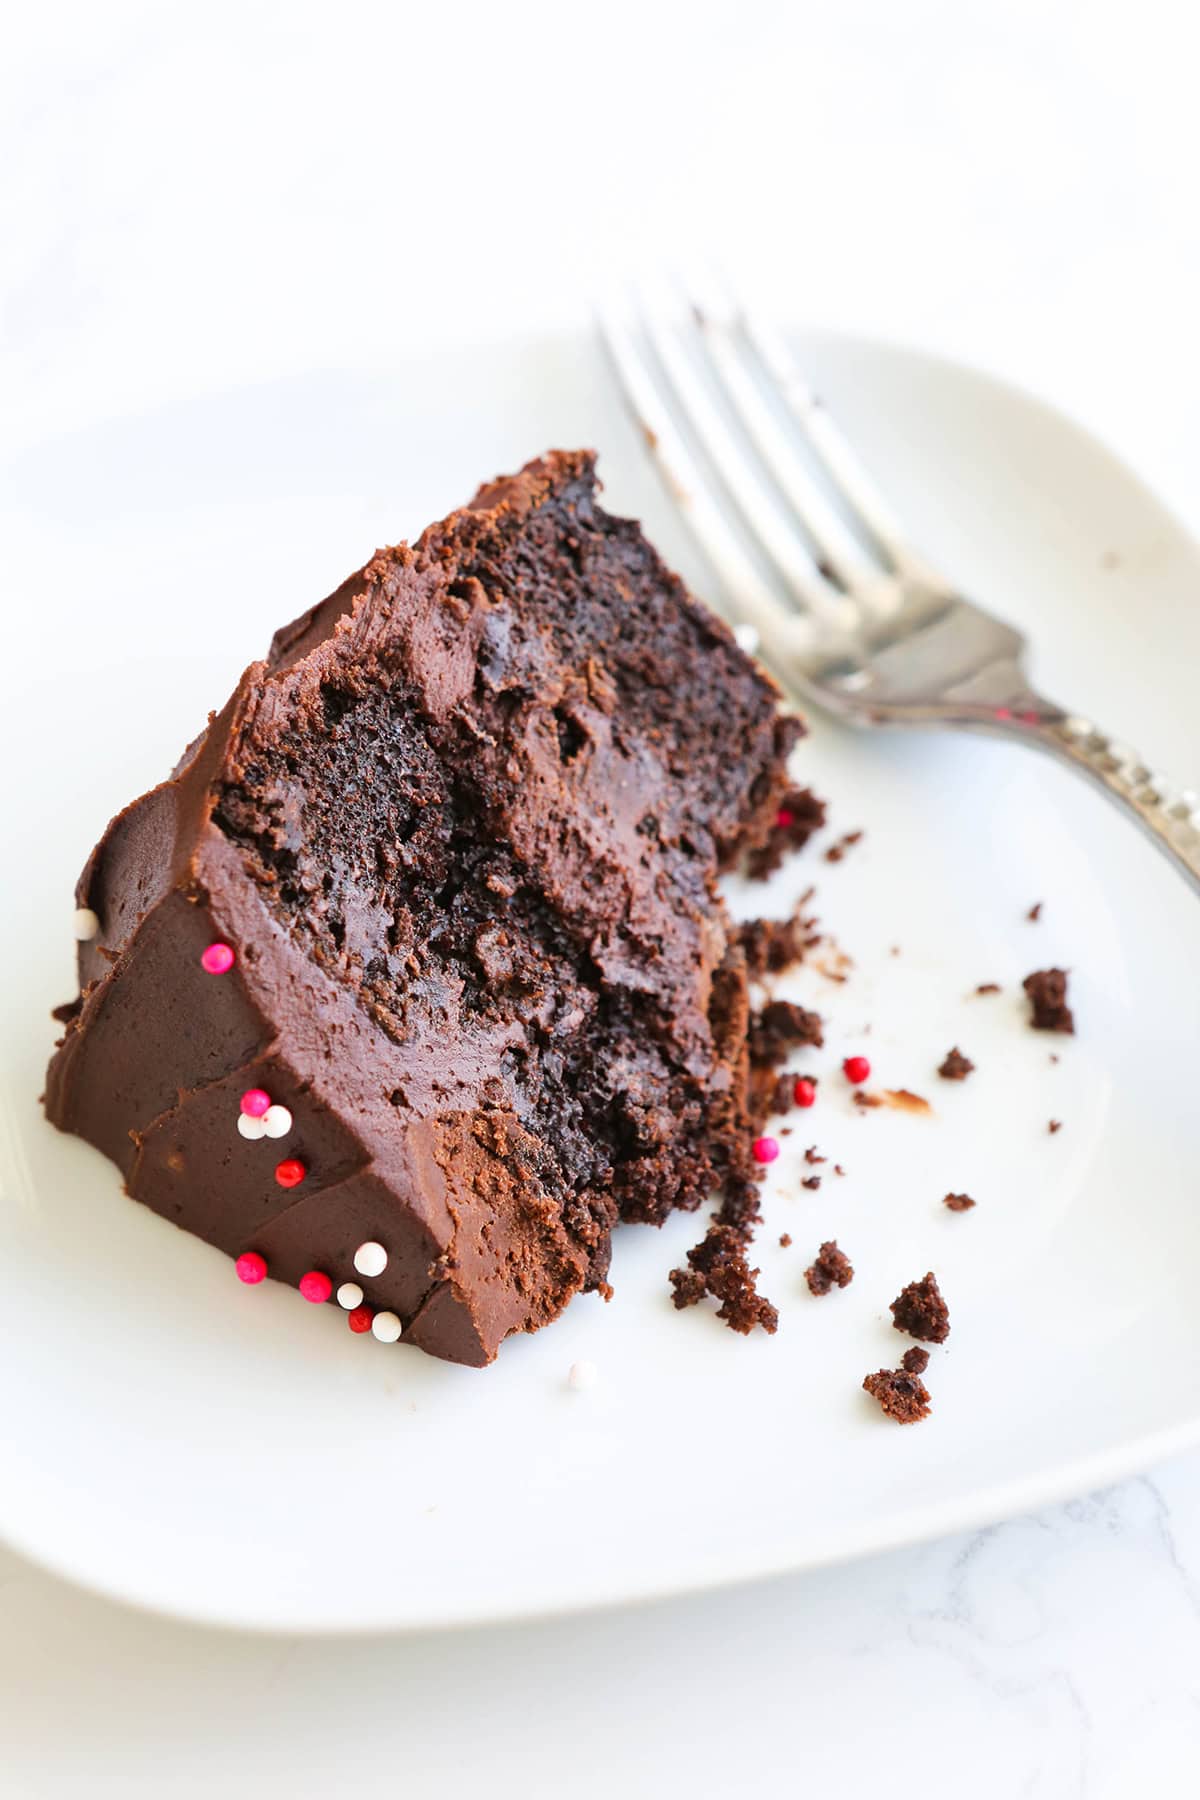
Why This Instant Pot Cake Recipe Works
This is one of the most dependable Instant Pot desserts I’ve ever made. Here is why it continues to be my go-to cake recipe:
- It starts with a boxed cake mix. Prepare the batter using the ingredients listed on the package, then let the pressure cooker handle the baking. Any cake flavor works.
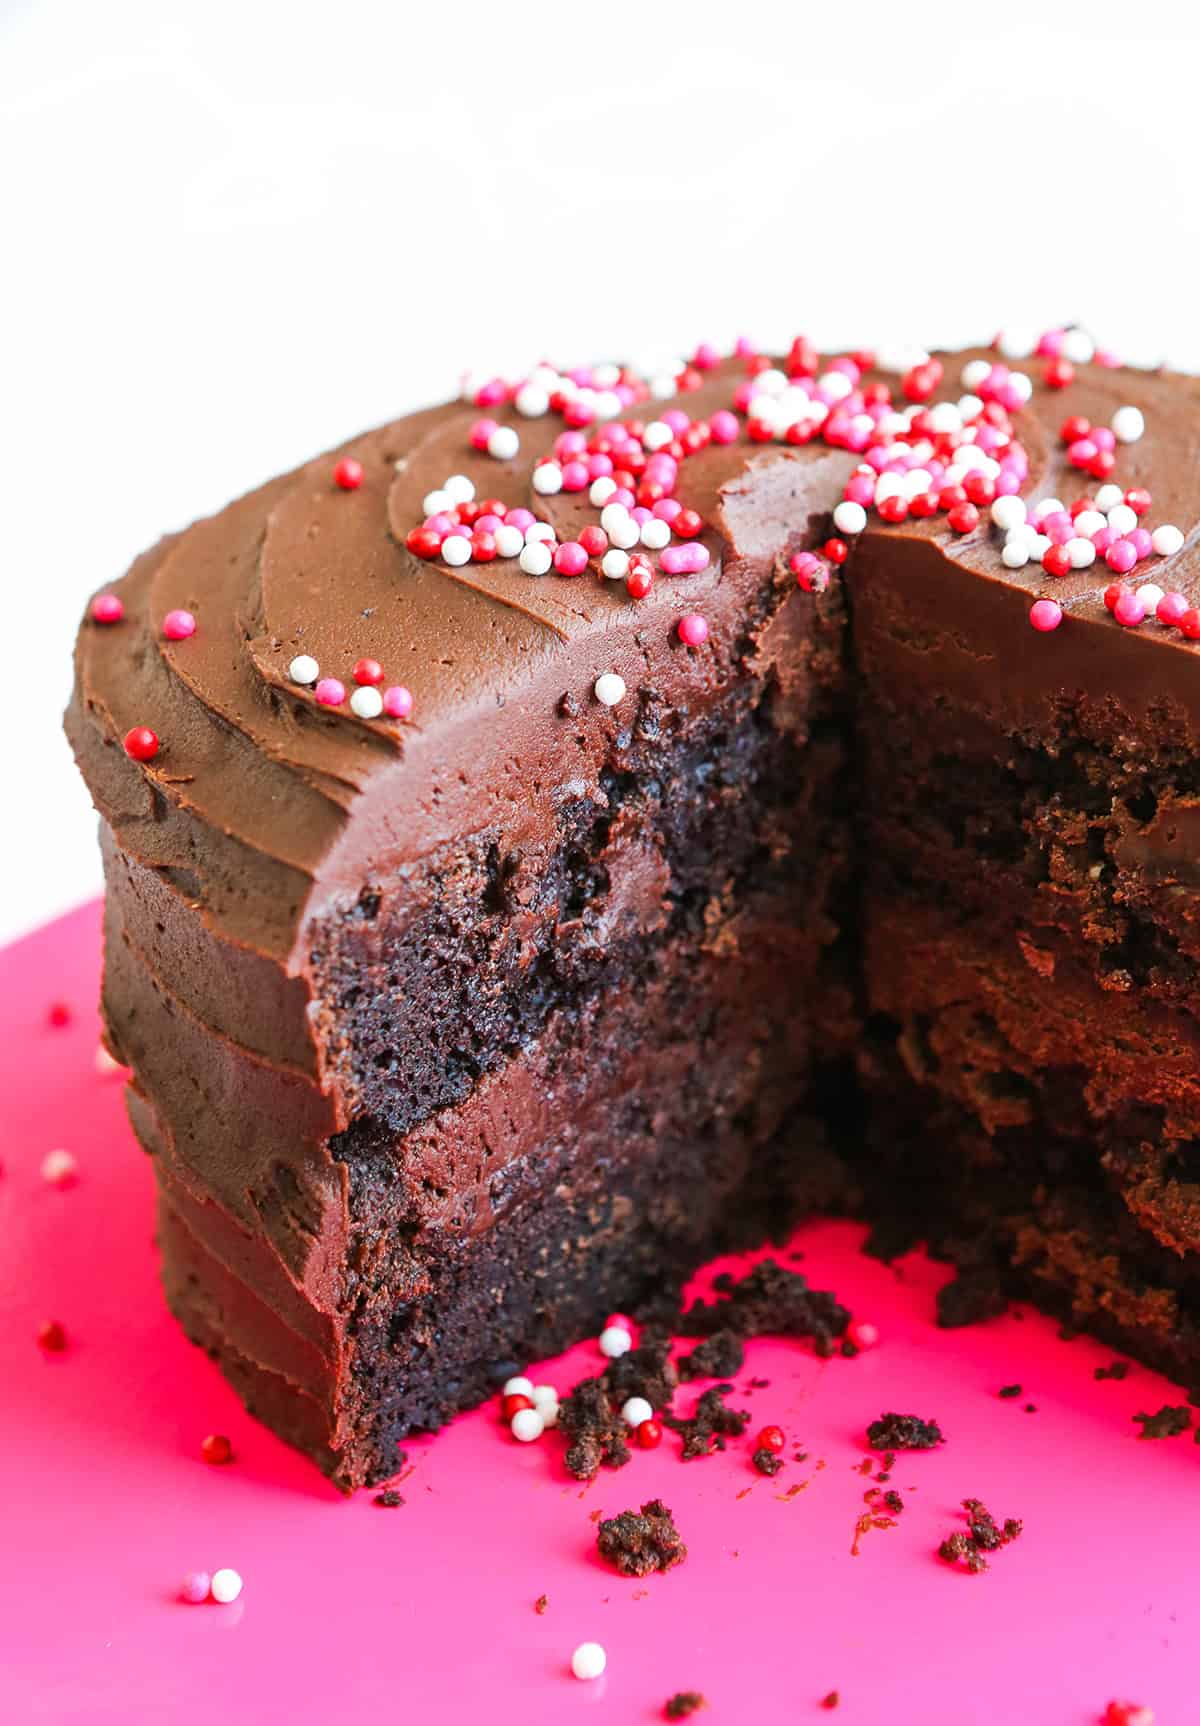
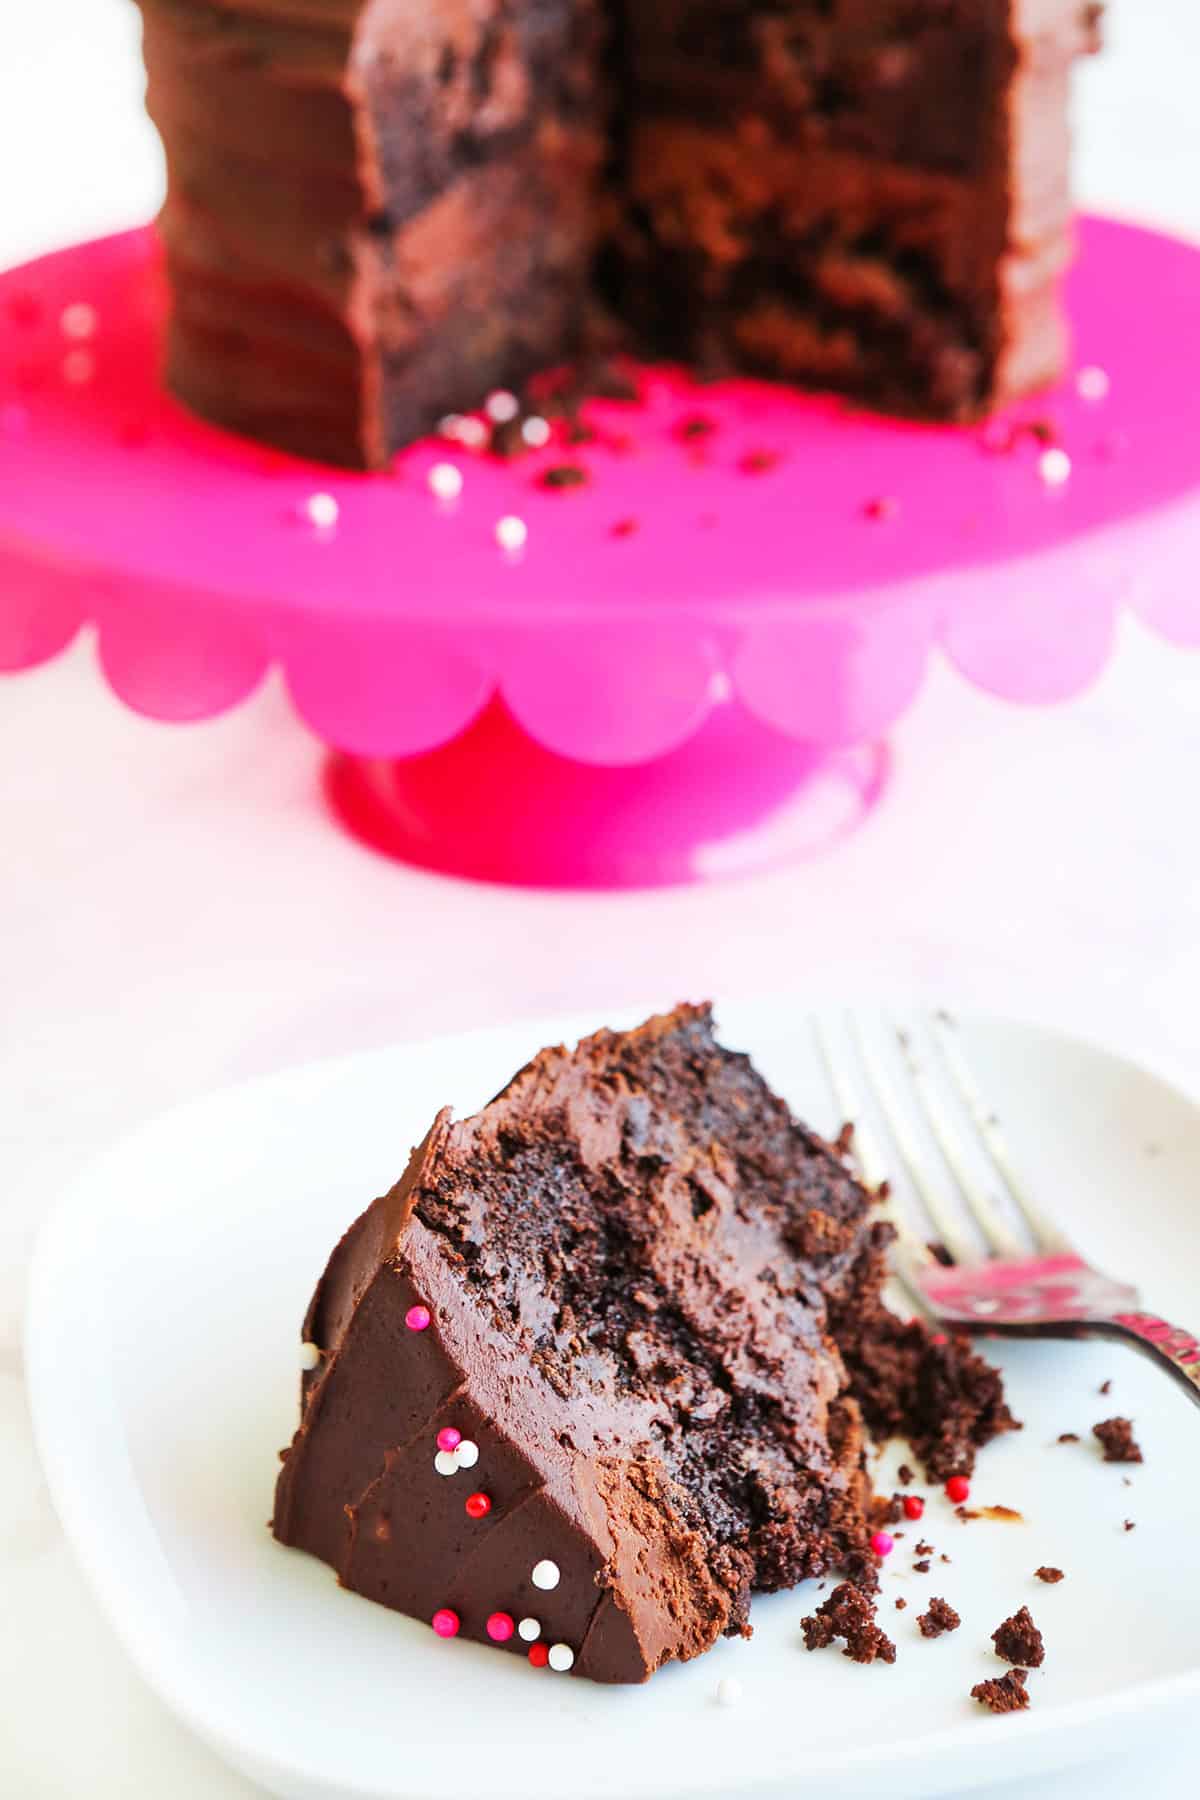
- The texture is exceptionally moist. Steam creates a dense, tender cake with a smoother, less porous crumb than the same mix typically produces in the oven.
- The method has been thoroughly tested. Covering the pan with foil prevents condensation from dripping onto the batter, while the 35-minute cook time and 10-minute natural release help the center cook through evenly.
- It is easy to customize. Add up to 1 cup of chocolate chips, sprinkles, M&M’s, caramel bits or another favorite mix-in before cooking.
- You do not need an oven. This is especially helpful in warm weather, when your oven is occupied or anytime you want to bake a cake in an Instant Pot instead.
- One box makes a two-layer cake. The batter is divided and pressure-cooked in two batches, then the cooled layers are trimmed, stacked and covered with your favorite buttercream.
- It is worth buying the right pan. A 6- or 7-inch round Instant Pot cake pan gives the batter enough room to cook evenly and makes it easy to remove each finished layer.
Recipe Ingredients
Cake mix: Use one 15.25-ounce box of any flavor, along with the eggs, oil and water called for on the package. Chocolate, vanilla, yellow and funfetti cake mixes all work well.
Mix-ins: Add up to 1 cup of chocolate chips, sprinkles, M&M’s, caramel bits or butterscotch chips. These are completely optional, and the cake is wonderful without them.
Frosting: Use approximately 4 cups of chocolate buttercream or your favorite frosting. Homemade buttercream and store-bought frosting both work.
You’ll also need: A 6-inch round cake pan (7-inch will work, too) that fits inside your Instant Pot, aluminum foil and the trivet that came with your pressure cooker.
How To Make Instant Pot Cake
- Prepare the Instant Pot. Pour 1 1/2 cups of water into the inner pot and place the trivet inside. Coat a 6- or 7-inch round cake pan with cooking spray.
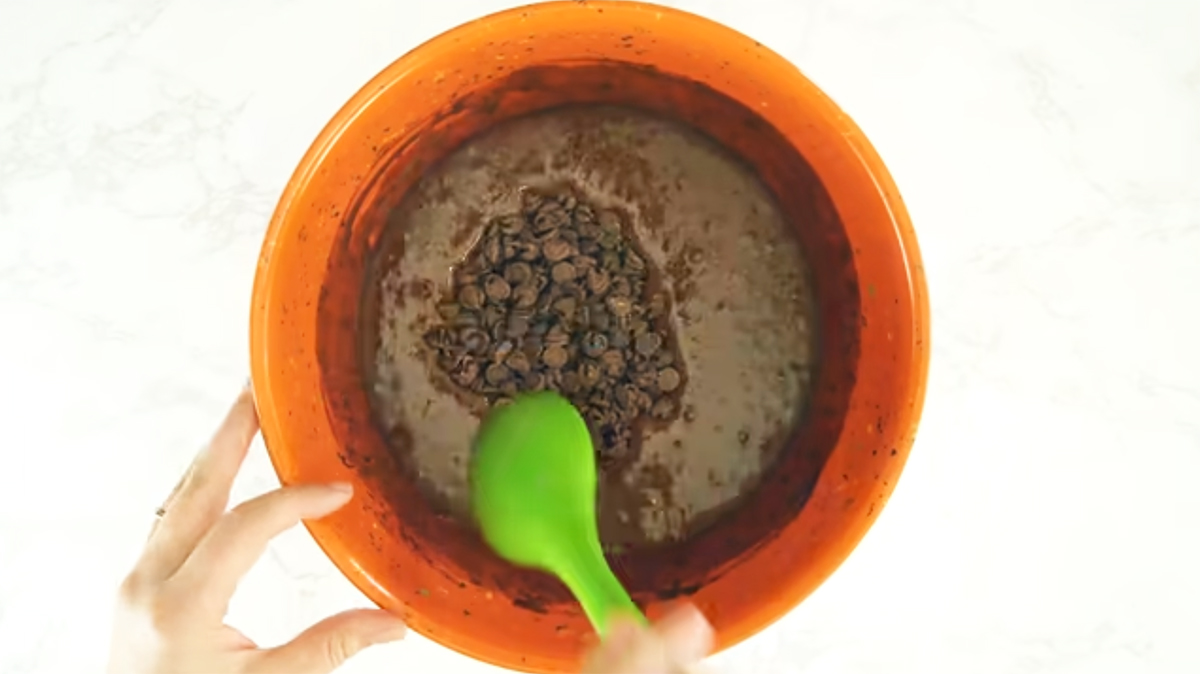
- Make the batter. Prepare the cake batter according to the package directions. Fold in up to 1 cup of optional mix-ins.
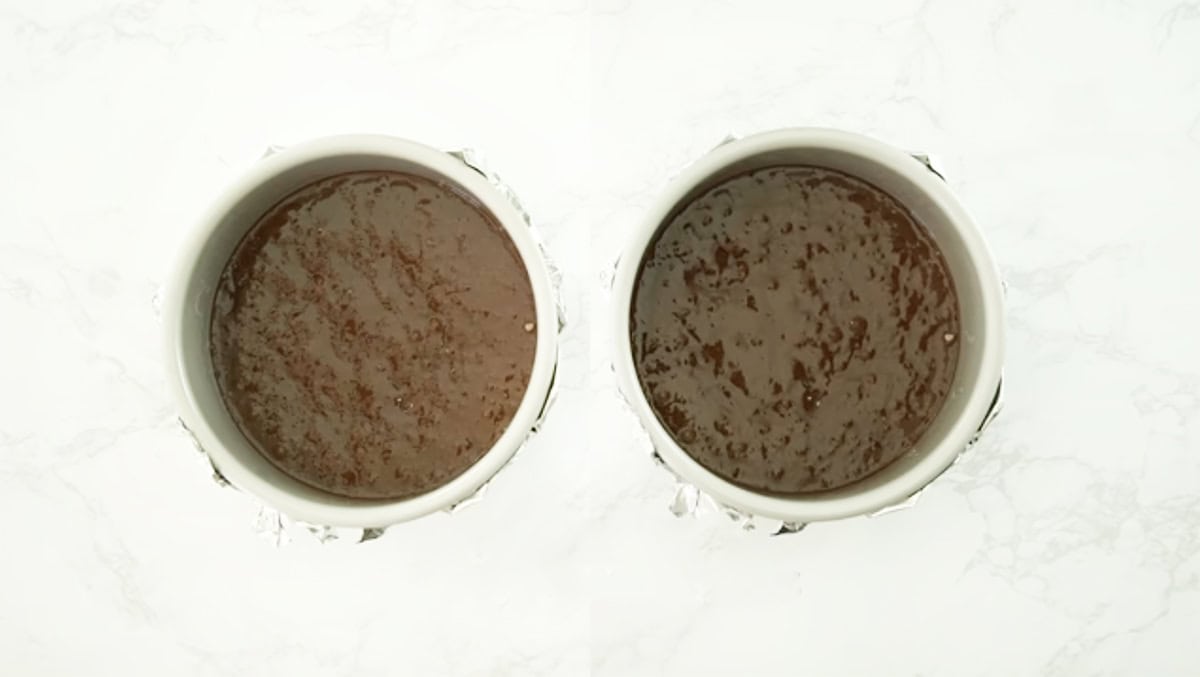
- Divide the batter. Divide the batter evenly between two same-size bowls. If you own two cake pans, you can divide the batter between the two prepared pans instead.
- Cover and lower the pan. Pour half of the batter into the prepared pan and cover it tightly with aluminum foil. Use the trivet handles to lower the pan into the Instant Pot.
- Pressure cook the first layer. Secure the lid, set the steam release valve to the sealing position and cook on high pressure for 35 minutes. The Instant Pot will take approximately 6 minutes to build pressure.
- Release the pressure. When the cooking time is complete, allow the pressure to release naturally for 10 minutes. Carefully turn the steam release valve to the venting position to release any remaining pressure. Wait for the float valve to drop before removing the lid.
- Check and cool the cake. Remove the foil and insert a toothpick into the center. It should come out clean or with a few moist crumbs attached. Carefully lift the pan out of the Instant Pot and allow the cake to cool in the pan for 5 minutes.
- Remove the first layer. Carefully invert the cake onto a wire rack and remove the pan. Let the cake cool completely, then use a serrated knife to trim off the rounded top so the layer sits flat.
- Cook the second layer. Coat the cake pan with cooking spray again and pour in the remaining batter. Cover tightly with foil and repeat the cooking process, reusing the water already in the inner pot. There is no need to replace or add more water.
- Assemble and frost. Once both cake layers are completely cool, spread frosting over the top of one layer. Place the second layer on top, then frost the top and sides of the cake.
- Slice or store. Slice and serve the finished cake, or cover and store it according to the type of frosting used.
Recipe Notes
- Use the trivet handles. The trivet that comes with the Instant Pot makes it easy to lower the foil-covered cake pan into the inner pot and lift it out after cooking. There is no need to make a separate foil sling or purchase a bakeware sling.
- Use the correct pressure setting. Some Instant Pot models include a Cake button. If yours does, set it for 35 minutes. Otherwise, select Pressure Cook or Manual and cook on high pressure for the same amount of time.
- Choose the proper pan size. Use a 6- or 7-inch round cake pan that fits comfortably inside your pressure cooker. Place the empty pan inside the pot before beginning to confirm that it fits on the trivet with room for steam to circulate.
- Expect a soft top. An Instant Pot cake will not develop the deeply browned, slightly crisp surface that an oven-baked cake does. The top remains soft because the cake cooks in a moist, steamy environment. This is completely normal, and the layers will be trimmed, stacked and covered with frosting.
- Limit the mix-ins. I have tested this cake with and without chocolate chips, M&M’s and other additions, and it turns out beautifully both ways. Use no more than 1 cup of mix-ins so the cake cooks evenly.
- Reuse the cooking water. When pressure cooking the second cake layer, reuse the water remaining in the inner pot. There is no need to replace it or add more.
- Cool the layers completely. Allow both layers to cool completely before trimming, stacking and frosting them. Warm cake can cause buttercream to soften or melt.
- Consider separate sealing rings. Silicone sealing rings can absorb food odors. If you regularly make both savory meals and Instant Pot desserts, consider keeping one ring for each.
Can You Use a Regular Cake Pan in an Instant Pot?
Yes, you can use a regular round cake pan in an Instant Pot as long as it fits inside the inner pot. Standard 8- or 9-inch cake pans are too large for most models, so you will need a 6- or 7-inch round cake pan for this recipe.
I also sometimes use a 6-inch cake pan with a removable bottom, which makes it especially easy to release the cake after cooking. Before preparing the batter, place your empty pan inside the Instant Pot to make sure it fits comfortably on the trivet with enough room around the sides for steam to circulate. Both styles work well and produce evenly cooked cake layers.
Frequently Asked Questions
Can You Bake a Cake in an Instant Pot?
Yes. To bake a cake in an Instant Pot, pour water into the inner pot, place the cake pan on the trivet and cook it using high pressure. The cake cooks in the moist, pressurized environment rather than with the dry heat of an oven, producing an exceptionally moist cake with a tight, tender crumb.
Can You Make Instant Pot Cake Without a Pan?
You need a separate oven-safe pan or baking dish that fits inside the Instant Pot. Do not pour cake batter directly into the inner pot. For this recipe, I recommend a 6- or 7-inch round cake pan because it fits on the trivet and allows steam to circulate around it.
What Is the Difference Between Instant Pot Cake and Oven-Baked Cake?
Instant Pot cake has a moister, denser texture and a smoother, less porous crumb than oven-baked cake. The top will not become golden or slightly crisp because it cooks with steam rather than dry heat. I trim the rounded top from each layer before stacking and frosting the cake.
Cake Mix Flavors To Try
This Instant Pot cake recipe works with nearly any standard 15.25-ounce boxed cake mix. Prepare the batter using the ingredients listed on the package, then follow the same pressure-cooking instructions.
Try any of these combinations:
- Chocolate cake: Add chocolate chips and frost with chocolate buttercream.
- Vanilla or white cake: Pair with vanilla buttercream or chocolate frosting.
- Funfetti cake: Add extra sprinkles and top with vanilla buttercream.
- Strawberry cake: Frost with vanilla or cream cheese frosting.
- Lemon cake: Pair with lemon buttercream and garnish with fresh lemon zest.
- Carrot cake: Finish with cream cheese frosting and chopped pecans, if desired.
Keep the total amount of mix-ins to 1 cup or less so the cake cooks evenly.
Best Frostings for Instant Pot Cake
Choose a frosting that complements the flavor of cake mix you use. These are a few of my favorites:
- Vanilla Buttercream
- Chocolate Buttercream
- Cream Cheese Frosting
- Chocolate Ganache Frosting
- Lemon Buttercream Frosting
How Long Does Cake Last?
Instant Pot cake lasts up to 2 days at room temperature or 5 days in the refrigerator when stored in an airtight container. If the cake is covered with cream cheese frosting or another frosting that requires refrigeration, do not leave it at room temperature.
For longer storage, wrap unfrosted cake layers tightly in plastic wrap and place them in a freezer-safe container or bag. Freeze for up to 3 months, then thaw overnight in the refrigerator before assembling and frosting.
More Instant Pot Dessert Recipes
If you loved making a cake in your pressure cooker, there are plenty of other unexpected Instant Pot dessert recipes to try. These are a few of my favorites:
- Instant Pot Chocolate Pudding: Rich, creamy homemade pudding made right in the pressure cooker.
- Instant Pot Cheesecake: A dependable way to make smooth, creamy cheesecake without using the oven.
- Instant Pot Fudge: An easy, indulgent treat that is perfect for holidays and gifting.
- Instant Pot Berry Crisp: Juicy berries topped with a sweet, crumbly topping.
- Instant Pot Cherry Dump Cake: A wonderfully simple dessert made with cherry pie filling and cake mix.
You can also browse my complete collection of Instant Pot desserts for even more no-oven treats.
Instant Pot Cake Recipe Using a Box Mix
Ingredients
- 1 1/2 cups water for the Instant Pot
- Nonstick cooking spray
- 15.25 oz cake mix any flavor, plus any ingredients required from package
- 1 cup mix-ins such as chocolate chips, sprinkles, M&Ms, caramel bits, optional
- 4 cups chocolate buttercream frosting or frosting of choice
Instructions
- Prepare the pot and pan. Pour 1 1/2 cups water into the Instant Pot and place the trivet inside. Coat a 6- or 7-inch round cake pan with cooking spray.
- Make the batter. Prepare the cake batter using the eggs, oil, water and other ingredients called for on the package. Fold in up to 1 cup of optional mix-ins.
- Divide the batter. Divide the batter evenly between two same-size bowls. Pour one bowl of batter into the prepared cake pan and cover the pan tightly with aluminum foil.
- Pressure cook the first layer. Use the trivet handles to lower the covered pan into the Instant Pot. Secure the lid and set the steam release valve to the sealing position. Cook on high pressure for 35 minutes. The Instant Pot will take approximately 6 minutes to build pressure before the cooking time begins.
- Release the pressure. When the cooking time is complete, allow the pressure to release naturally for 10 minutes. Carefully turn the valve to the venting position to release the remaining pressure. Wait for the float valve to drop before opening the lid.
- Check and cool the cake. Carefully remove the pan and foil. Insert a toothpick into the center of the cake. It should come out clean or with a few moist crumbs attached. Let the cake cool in the pan for 5 minutes, then carefully invert it onto a wire rack to cool completely.
- Cook the second layer. Coat the cake pan with cooking spray again and add the remaining batter. Cover tightly with foil and repeat the cooking and pressure-release process, reusing the water already in the inner pot. There is no need to replace or add more water.
- Level the layers. Once both layers are completely cool, use a serrated knife to trim off the rounded tops so the layers sit flat.
- Assemble the cake. Place one cake layer on a serving plate and spread frosting over the top. Add the second layer, then frost the top and sides of the cake. Slice and serve, or cover and store according to the type of frosting used.
Video
Notes
- Use a 6- or 7-inch round cake pan that fits comfortably on the trivet with room for steam to circulate around it. A 6-inch pan with a removable bottom also works well.
- Cover the cake pan tightly with foil to prevent condensation from dripping onto the batter and leaving the top wet.
- Some Instant Pot models include a Cake button. Set it for 35 minutes, or use Pressure Cook/Manual on high pressure for the same amount of time.
- Use no more than 1 cup of optional mix-ins so the cake cooks evenly.
- The top of the cake will remain soft rather than becoming deeply browned or slightly crisp. This is normal for a cake cooked in a moist, steamy environment.
- Reuse the water remaining in the inner pot when cooking the second layer. There is no need to replace it or add more.
- Cool both cake layers completely before trimming, stacking and frosting them.
- Silicone sealing rings can absorb odors, so consider keeping separate rings for savory recipes and Instant Pot desserts.Cover the cake pan tightly with foil before pressure cooking. This keeps condensation off the batter and is the key to preventing a wet cake top.
Nutrition

Megan Porta is a comfort food recipe creator who specializes in easy family meals and Instant Pot desserts, and the founder of Pip and Ebby. She has been cooking for three decades and developing recipes for over fifteen years, helping home cooks make reliable, cozy recipes for real life.
Will a gluten-free box mix need a different cooking time? Also, I sometimes enjoy a little makeover games, session to unwind.
To be totally honest, I have never tried using a GF box mix for this recipe!
Hi there! I was wondering if you could add zucchini? and if so, would I have to change the time to cook? can’t wait to try this recipe! thank you!
Hi Lorraine! I’ve never tried this, but I think it would work! Make sure to pat the zucchini dry beforehand really well (after shredding) and don’t add more than 1 cup. Let me know if it works!! Yum!
What is the advantage to doing this in an Instant Pot when you can just bake both layers at the same time in the oven? (Unless you don’t have an oven.)
Hey Deb! One of the benefits of using the instant pot is that it is such a moist cake filled with flavor, and much less porous than its oven-baked counterpart.
amazing,
Absolutely fabulous!! So incredibly moist!!! Thank you for the recipe!!
Thanks Kristine!
Hello, I was wondering if you’ve tried this with an aluminum foil pan? I am living in a fifth wheel and can’t get the oven to work but my daughter’s birthday is tomorrow. Thank you
Hi Raeanna! I have not tried this with an aluminum foil pan. Hope your daughter had a lovely birthday!
I used a 6″ springform pan. It worked fine but the cake didn’t stay together. This time I will be sure the lower layer is trimmed flat. Cake was very good.
Cake turned out moist and very dense. I used a two tier stackable steamer pans that includes it’s own trivet. I divided the cake batter and place 1/2 in each stacked on top of each other and used the solid lid on the top. Locked in the trivet and baked following your directions. So cooked both layers at the same time. Turned out just fine in 1/2 the time.
The cake came out perfect I learned from my cousin who worked in a bakery in France that if you use boiling water it’s going to be perfectly spongy I suggest you try it.
Great! Thanks, Kiba.
boiling water in the cake mix?
The cake turned out great, but the chocolate chips we mixed in sunk to the bottom of the cake when it was in the instant pot. Any tips to prevent this?
Thanks!
The one tip I know is to coat the chips in flour before adding them to the batter. It helps to avoid that. Also, just adding a few on the top, not combining them into the batter. Thanks for trying the recipe, Lauren!
Try tossing the chocolate chips in flour before adding them to the batter. This should help.
I don’t have a CAKE setting but I have a BAKE setting. Should I use that or Pressure Cook? And just use the same temp as it says on the box?
Hi Vita, Thank you for asking. Some IP have a cake/bake button – if not, just set your timer to 35 minutes on high pressure (which is cake setting on mine). So it can be done manually if your bake button doesn’t automatically set it for you to that time.
I’ve made gluten free box cake in the instant pot, following this method. Worked great!
That’s really great! Thank you for sharing that, Rachel. I know someone else will love having that confirmed.
I used a Betty Crocker Butter Pecan cake mix. I had a 6 in X 3in round pan which, I sprayed with Pam, bottom and sides.
I made the mix according to the package direction, with no add-ins.
I followed your Instant Pot directions exactly: cake pan on the provided steamer rack, loosely covered with foil.
1 1/2 cups of water in the bottom. Insta Pot set for Pressure cook, on high for 35 minutes. When done, I let the pressure release for 10 minutes, then released the remaining pressure and opened the pot… the toothpick came out clean. The
top of the cake was very wet, and not rounded up, at all. I set the pan on a rack and let it cool, 10 min. before tipping cake onto a rack to finish cooling. I put the 2nd half of the batter in to “bake” using the same process.
when I cut the cake it was obviously very dense and had not risen at all, obviously not completely “done”. Gooey, and flat.
Any tips on what to do next time, for better results?
Hmm. This doesn’t sound right. You will definitely get a denser cake that doesn’t rise in a bubble like it does in the oven. Was the batter cooked through? If not, pop it back in the IP and cook for a few more minutes. you use the Cake button or Pressure Cook button? Either should do the trick.
The thing that comes to mind is your sealing ring! Is it working properly and fitting snugly inside your IP cover? You might have an old sealing ring OR it just slipped from its spot. This can definitely interfere with pressure cooking.
I haven’t bought the smaller cake oan yet. Which one works better for this recipe–the 6- or the 7-inch?
There’s no wrong choice. I like the 7″ because I like more cake!
Have you done this with gluten free cake mixes. And can I sub Applesauce for the oil like I normally do when I bake it in the oven.
Hi Lisa, great question! I haven’t tried baking with gluten-free so I can’t speak to that. But honestly, I couldn’t see why not, if you have a solid recipe you’re already familiar with. Give it a try and let me know how the applesauce works. I think it’ll probably be amazing.