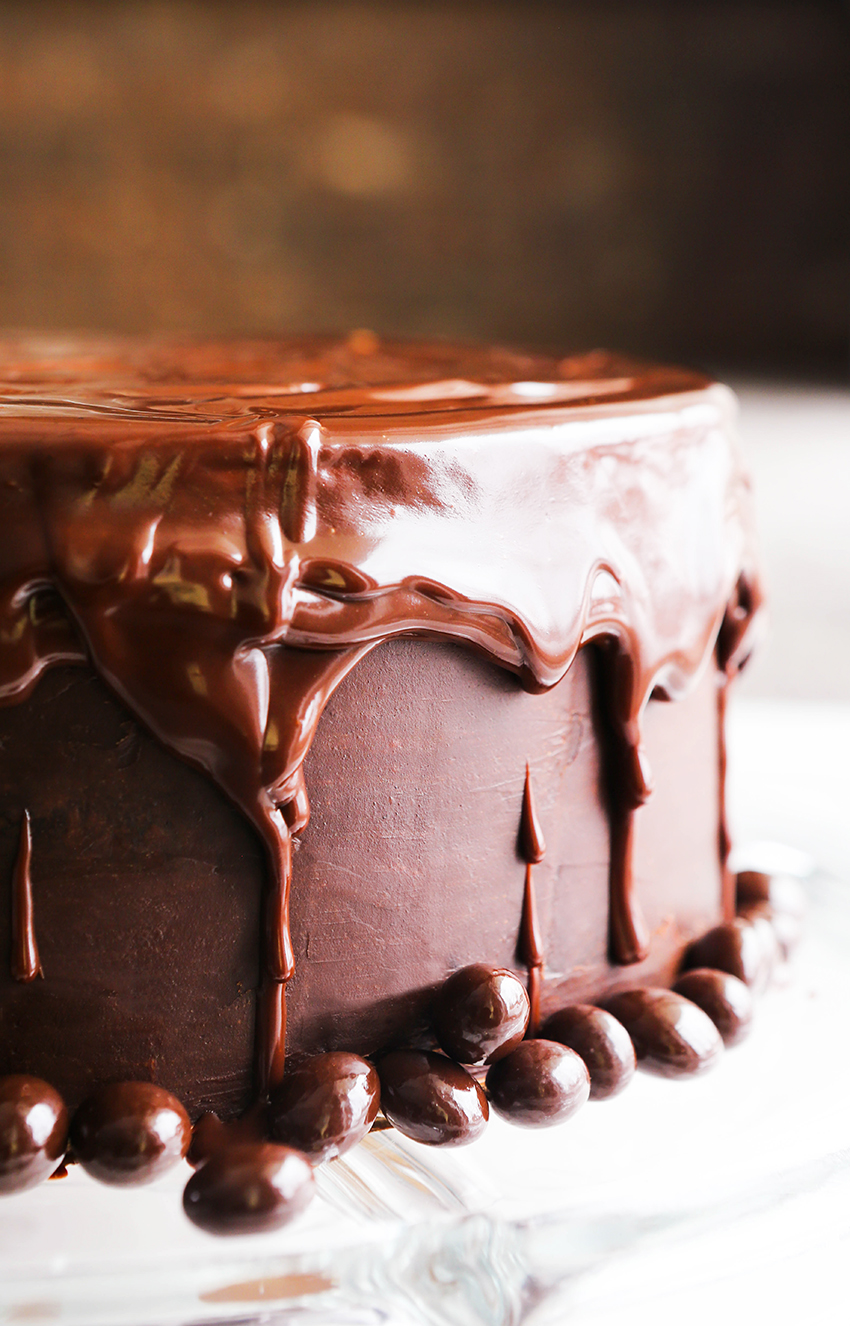
This decadent chocolate espresso cake recipe defines rich indulgence! Moist cake topped with a smooth, drippy ganache for good measure.
Original post: March 2018 | Updated: March 2021
This is a fool-proof layer cake recipe and although it might look complicated, IT IS NOT. It’s a show-stopper and it will wow guests every single time. I hope you enjoy this yummy chocolate espresso cake as much as my family does! It is the best chocolate cake recipe and my #1 favorite cake that has ever come out of my kitchen.
The coffee flavor adds the perfect boost of flavor, so don’t let the coffee used in the recipe intimidate you! Even coffee haters will love the flavor. Here’s a fun little serving suggestion.. If serving this as a birthday cake, offer coffee flavored ice cream to accompany each slice!

HOW TO MAKE THIS CHOCOLATE ESPRESSO CAKE RECIPE
MAKE THE CAKE
Preheat the oven to 350 degrees F and generously spray three 8- or 9-inch round cake pans (or you can do this with one cake pan, baking one at a time) with cooking spray.
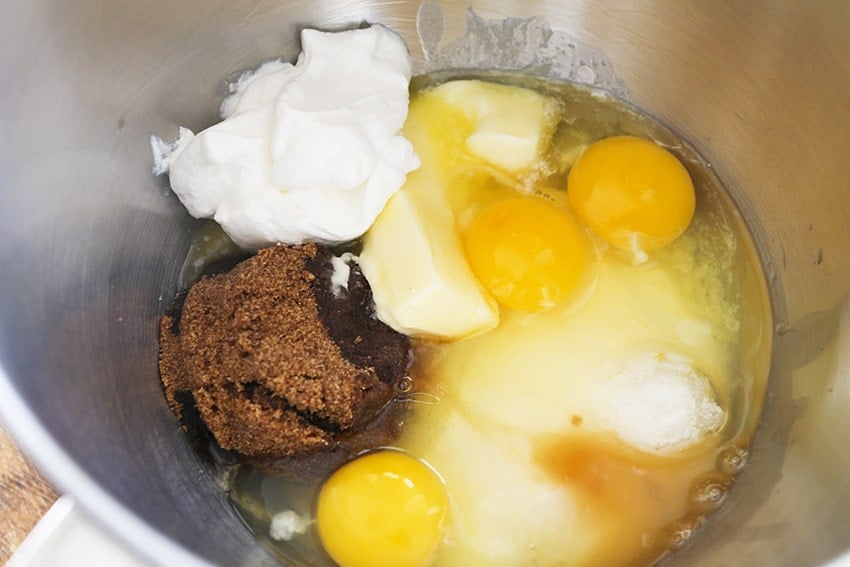
Using a stand mixer fitted with the paddle attachment (or a large bowl with a hand mixer), combine the butter, sugars, room temperature eggs, vanilla extract and sour cream and beat on medium speed until creamy and free of lumps.
In a separate bowl, combine the dry ingredients: flour, cocoa powder, baking powder, baking soda, salt and espresso powder. Mix well. Gradually add to the butter-egg mixture and beat on medium speed until just combined. Pour the espresso shots into a liquid measuring cup.
Add water to make 1 cup total. Add the espresso-water mixture to the mixing bowl, along with the buttermilk, and mix on high speed for 90 seconds. In a small bowl, combine the chocolate chunks or chips and 1 tablespoon flour and stir until the chip are well-coated. Add to the mixing bowl and stir until just combined.
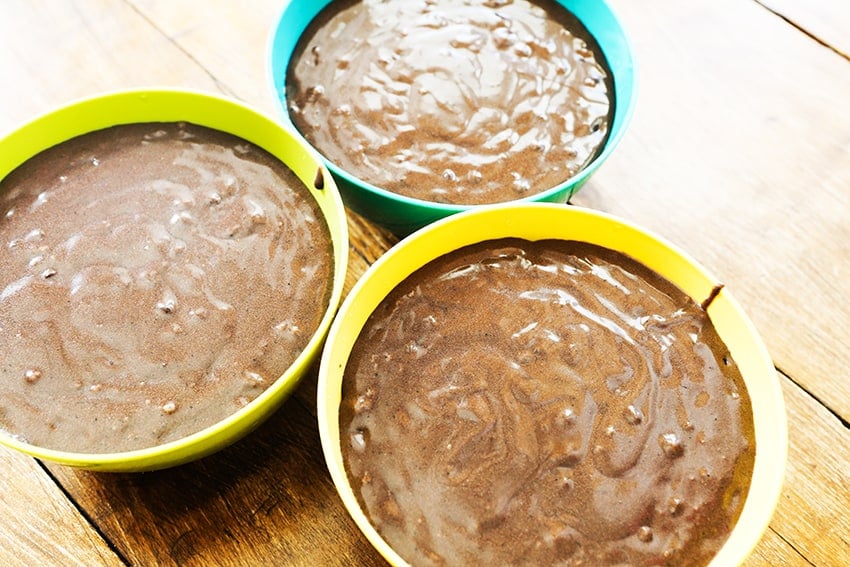
Divide the cake batter between the prepared cake pans and bake in the preheated oven for 25-35 minutes, or until a toothpick inserted into the center comes out clean. Let cool in pan for 10 minutes, remove from pan and let cool completely on a wire rack. Using a serrated bread knife, cut the rounded tops off each cooled cake.
ASSEMBLE THE CAKE
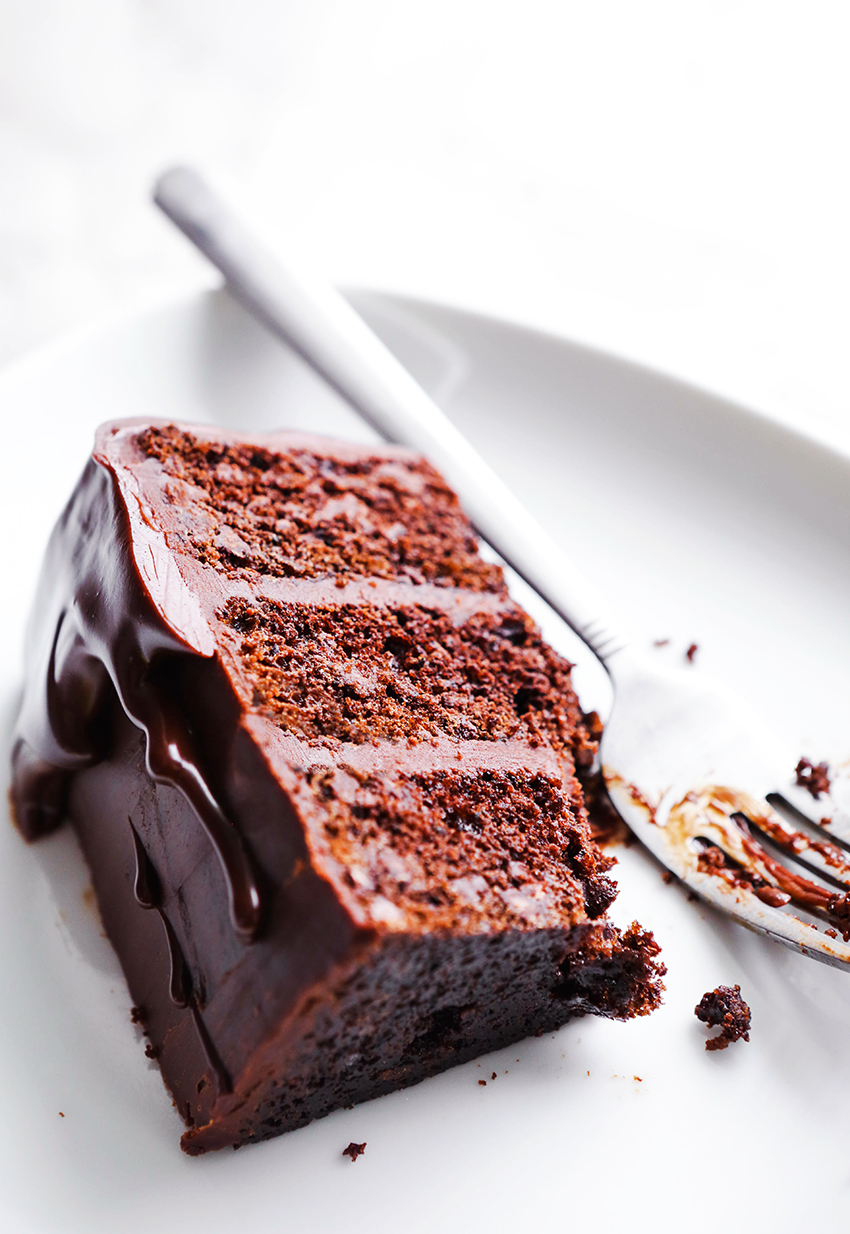
Place one cooled cake in the center of a cake or serving plate. Spread Chocolate Ganache Frosting over the top in an even thin layer. Top with another cake and another layer of frosting. Top with the remaining cake.
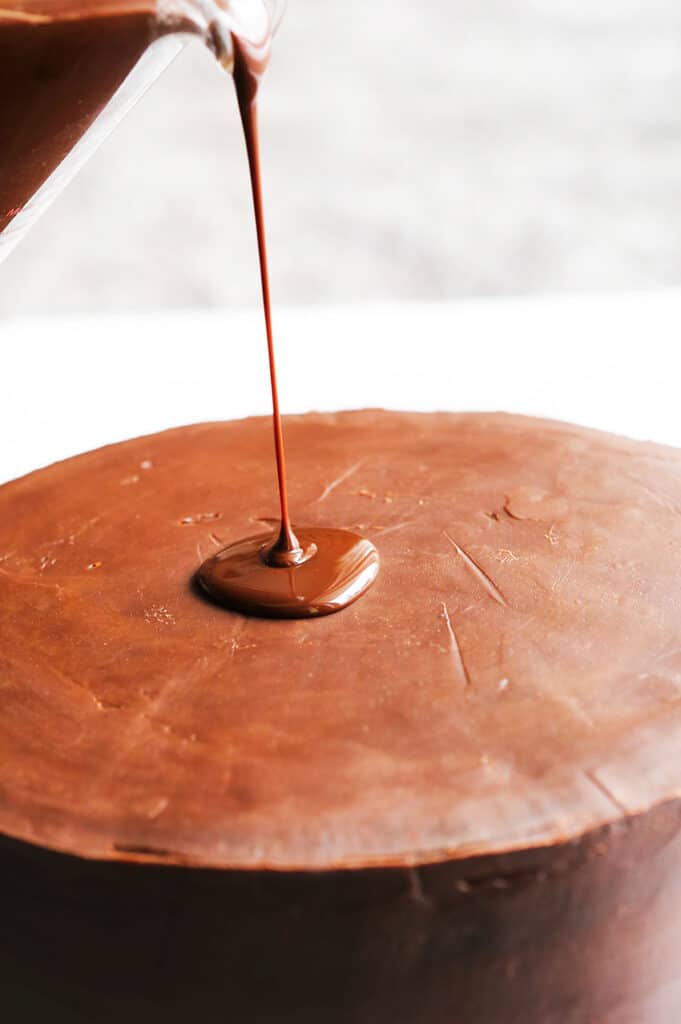
Using an offset spatula (or icing smoother), apply the remaining frosting to the top and sides of the cake in a smooth, even layer. Refrigerate while you prepare the ganache. Pour the ganache over the top of the cake, allowing it to drip over the edges. Decorate cake with chocolate-covered espresso beans. Refrigerate cake until ready to cut and serve!
GANACHE VS GANACHE FROSTING
Both supremely delicious, Ganache and Ganache Frosting are made with the same ingredients but using different ratios of cream to chocolate. Ganache usually refers to a glaze that is drizzled over baked goods and ganache frosting refers to a spreadable frosting or filling for baking goods.
Allowing ganache to cool in the fridge will make it thicker (much like the frosting), but it also causes it to lose its “drippy” quality that ganache is known for.
I knew I wanted Chocolate Ganache Frosting to be involved in this cake because it’s the world’s most delicious chocolate frosting. It was a last-minute call to add another drippier Chocolate Ganache over the top because why not?! Oh my goodness this cake is rich and delectable and totally irresistible.
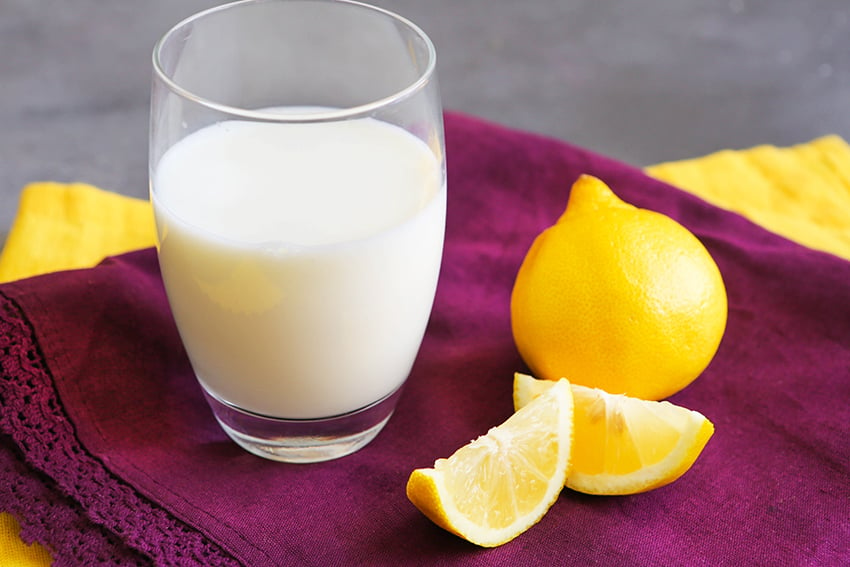
HOW TO MAKE HOMEMADE BUTTERMILK
My life became so much easier the moment I discovered how easy it is to make buttermilk with just two simple ingredients (both of which are likely in all kitchens at any given moment) and in just a matter of minutes. No more avoiding recipes that call for this ingredient and no more buying it at the grocery store.
Combine fresh lemon juice OR vinegar and a cup of milk (room temperature, preferably) in a small bowl. Mix well and let sit 5-10 minutes, or until mixture begins to curdle. That’s it! Now go pour it into your recipe! This recipe makes 1 cup of buttermilk. Feel free to double the recipe for 2 cups.
SALTED BUTTER VS UNSALTED BUTTER
Ahh, the great baking debate. Many bakers use unsalted butter in their baked goods in order to avoid over-salting. I, however, believe that there is no such thing as “over-salting.”
I always use salted butter in my baked goods (and for everything else under the sun) because it gives everything I make an extra touch of salty deliciousness. If you go the unsalted route, you may need to add a bit extra salt to the recipe.
WHY DO SOME RECIPES CALL FOR EGGS TO BE USED AT ROOM TEMPERATURE
Allowing your eggs to come to room temperature is important for a couple of reasons. One, they will mix better with your batter, and then let the cake mix raise better as it bakes. Also, the cake will take a little longer to bake if room temperature eggs are used but creates a perfect cake that has a great texture.
If a cake has a high fat content, adding cold eggs could affect re-hardening the fat. Finally, eggs that are needed to be created into a foam for a recipe will have better volume if warmed to room temperature.

BAKING WITH CHOCOLATE
- Chocolate Cupcakes are perfect and super easy to make. They act as a solid base for any type of frosting. These cupcakes are moist, flavorful and chocolatey, making them the best easy dessert for any occasion!
- This Chocolate Sheet Cake Recipe is ridiculously easy to make, it is super moist and it is the perfect dessert to feed a crowd. Chocolate Buttercream Frosting tops it off perfectly, making a delicious cake for any type of gathering.
- Wacky Chocolate Cake was a popular dessert during the Depression Era because it requires very few ingredients and it is made with total ease. Combine everything in a single pan with no eggs or butter required!
- This easy Chocolate Raspberry Bundt Cake is moist and totally packed with chocolatey flavor. A great easy dessert to make for any occasion!
- Turn up the YUM on chocolate cake by adding crunch and an irresistible Caramel Frosting! A layer of chocolate crunch is hidden inside the cake for an extra bit of yummy surprise.
- If you can’t decide between cookies and brownies, you’ve found the perfect dessert. You get both with one recipe! These Chocolate Brownie Cookies are chewy, crispy, crinkly, chocolatey, unique and absolutely irresistible!
- These Chocolate M&M’s Cookies are THE BEST! They are easy to make, they’re irresistible and they are FUN! Throw in extra M&M’s, just ’cause.
RECIPE NOTES
- Dark brown sugar and light brown sugar can be used interchangeably in this recipe.
- Be sure you refrigerate the cake before drizzling the ganache over the top. The base layer of frosting should be nice and firm!
- Don’t throw the tops of the cakes away! Use them to make a batch of cake truffles!
- If you only have one cake pan, distribute the batter between 3 same-sized bowls before pouring into the cake pan and baking. This will ensure each cake is exactly the same size.
- The mini chocolate chips can be eliminated from the batter for a smoother textured cake!
- If you cannot find espresso powder, replace with an equal amount of finely ground instant coffee.
- Store the finished product in the fridge until ready to serve!
- Cake flour is not recommended for this recipe. All-purpose flour, all the way!
- Allow the cakes to fully cook while sitting on either parchment paper or wire racks.
FAQ ABOUT CHOCOLATE CAKE
Chocolate cake prepared in a round pan typically needs to bake in a 350-degree oven for 25-35 minutes. Insert a toothpick into the center. If it comes out clean, it is fully baked!
Chocolate cake can definitely be frozen! Once it has cooled, wrap (minus frosting) tightly and securely in plastic wrap, followed by a layer of foil. Place in a resealable freezer bag. You may also freeze cake after it has been frosted. Place in an airtight container first. Either way, freeze for up to 3 months.
Chocolate cake is not a recipe meant for a healthy diet. It contains refined sugar, fattening ingredients such as sour cream and calorie-dense chocolate. It is definitely more of a decadent option, meant to be enjoyed in moderation.
Chocolate Espresso Cake Recipe
Ingredients
- 1/2 cup salted butter softened (1 stick)
- 1 1/2 cups granulated sugar
- 1/2 cup dark brown sugar
- 3 eggs
- 2 tsp vanilla extract
- 1/2 cup sour cream
- 2 cups all-purpose flour
- 1/2 cup cocoa powder
- 1 tsp baking powder
- 2 tsp baking soda
- 1 tsp salt
- 2 tbsp espresso powder
- 3 shots espresso 1/3 cup
- 1 cup buttermilk shaken
- 10 oz mini semi-sweet chocolate chips
- 1 tbsp flour
- 1 batch Chocolate Ganache Frosting
- 1 batch Chocolate Ganache
- 1/2 cup chocolate-covered espresso beans
Instructions
MAKE THE CAKE
- Preheat the oven to 350°F and generously spray three 8- or 9-inch round cake pans (or you can do this with one cake pan, baking one at a time) with cooking spray. Using a stand mixer fitted with the paddle attachment (or a large mixing bowl with a hand mixer), combine the butter, sugars, eggs, vanilla and sour cream and beat on medium speed until creamy and free of lumps.
- In a separate bowl, combine the flour, cocoa powder, baking powder, baking soda, salt and espresso powder. Mix well. Gradually add to the butter mixture and beat on medium speed until just combined. Pour the espresso shots into a liquid measuring cup. Add water to make 1 cup total. Add the espresso-water mixture to the mixing bowl, along with the buttermilk, and mix on medium speed for 90 seconds. In a small bowl, combine the chocolate chips and 1 tablespoon flour and stir until the chip are well-coated. Add to the mixing bowl and stir until just combined.
- Divide the batter between the prepared cake pans and bake in the preheated oven for 25-35 minutes, or until a toothpick inserted into the center comes out clean. Let cool in pan for 10 minutes, remove from pan and let cool completely on a wire rack. Using a serrated bread knife, cut the rounded tops off each cooled cake.
ASSEMBLE THE CAKE
- Place one cooled cake in the center of a cake or serving plate. Spread Chocolate Ganache Frosting over the top in an even layer. Top with another cake and another layer of frosting. Top with the remaining cake.
- Using an offset or icing spatula (or icing smoother), apply the remaining frosting to the top and sides of the cake in a smooth, even layer. Refrigerate while you prepare the ganache. Pour the ganache over the top of the cake, allowing it to drip over the edges. Decorate cake with chocolate-covered espresso beans. Refrigerate cake until ready to cut and serve!
Notes
- Dark brown sugar and light brown sugar can be used interchangeably in this recipe.
- Be sure you refrigerate the cake before drizzling the ganache over the top. The base layer of frosting should be nice and firm!
- Don’t throw the tops of the cakes away! Use them to make a batch of cake truffles!
- If you only have one cake pan, distribute the batter between 3 same-sized bowls before pouring into the cake pan and baking. This will ensure each cake is exactly the same size.
- The mini chocolate chips can be eliminated from the batter for a smoother textured cake!
- If you cannot find espresso powder, replace with an equal amount of finely ground instant coffee.
- Store the finished product in the fridge until ready to serve!
- Cake flour is not recommended for this recipe. All-purpose flour, all the way!
- Allow the cakes to fully cook while sitting on either parchment paper or wire racks.



Tried your recipe, the cakes are waiting to be frosted with ganache frosting. Substituted plain Greek yogurt for sour cream and this worked fine! Thought you’d want to know your final “Note” has a typo: Allow the cakes to fully cook while sitting on either parchment paper or wire racks.
What could be used in place of espresso shots (1/3 cup)? Could I substitute coffee?
You could try a dark roast coffee. Let us know what you decide and try!