

These ham and cheese sliders on Hawaiian rolls have been my party contribution for more than 20 years. I bring them to gatherings all year long, and I have yet to take a pan home with leftovers.
The ham, provolone and sweet rolls are comforting on their own, but the buttery topping is what gets people talking. Someone always asks, “What is in these?” It’s a mix of mustard, Worcestershire sauce, dried onion and Parmesan poured over the rolls before they bake. I add cream cheese beneath the tops, too, for a little tang against all that sweetness and saltiness.
Planning the rest of the spread? Here are my ideas for what to serve with sliders at a party.
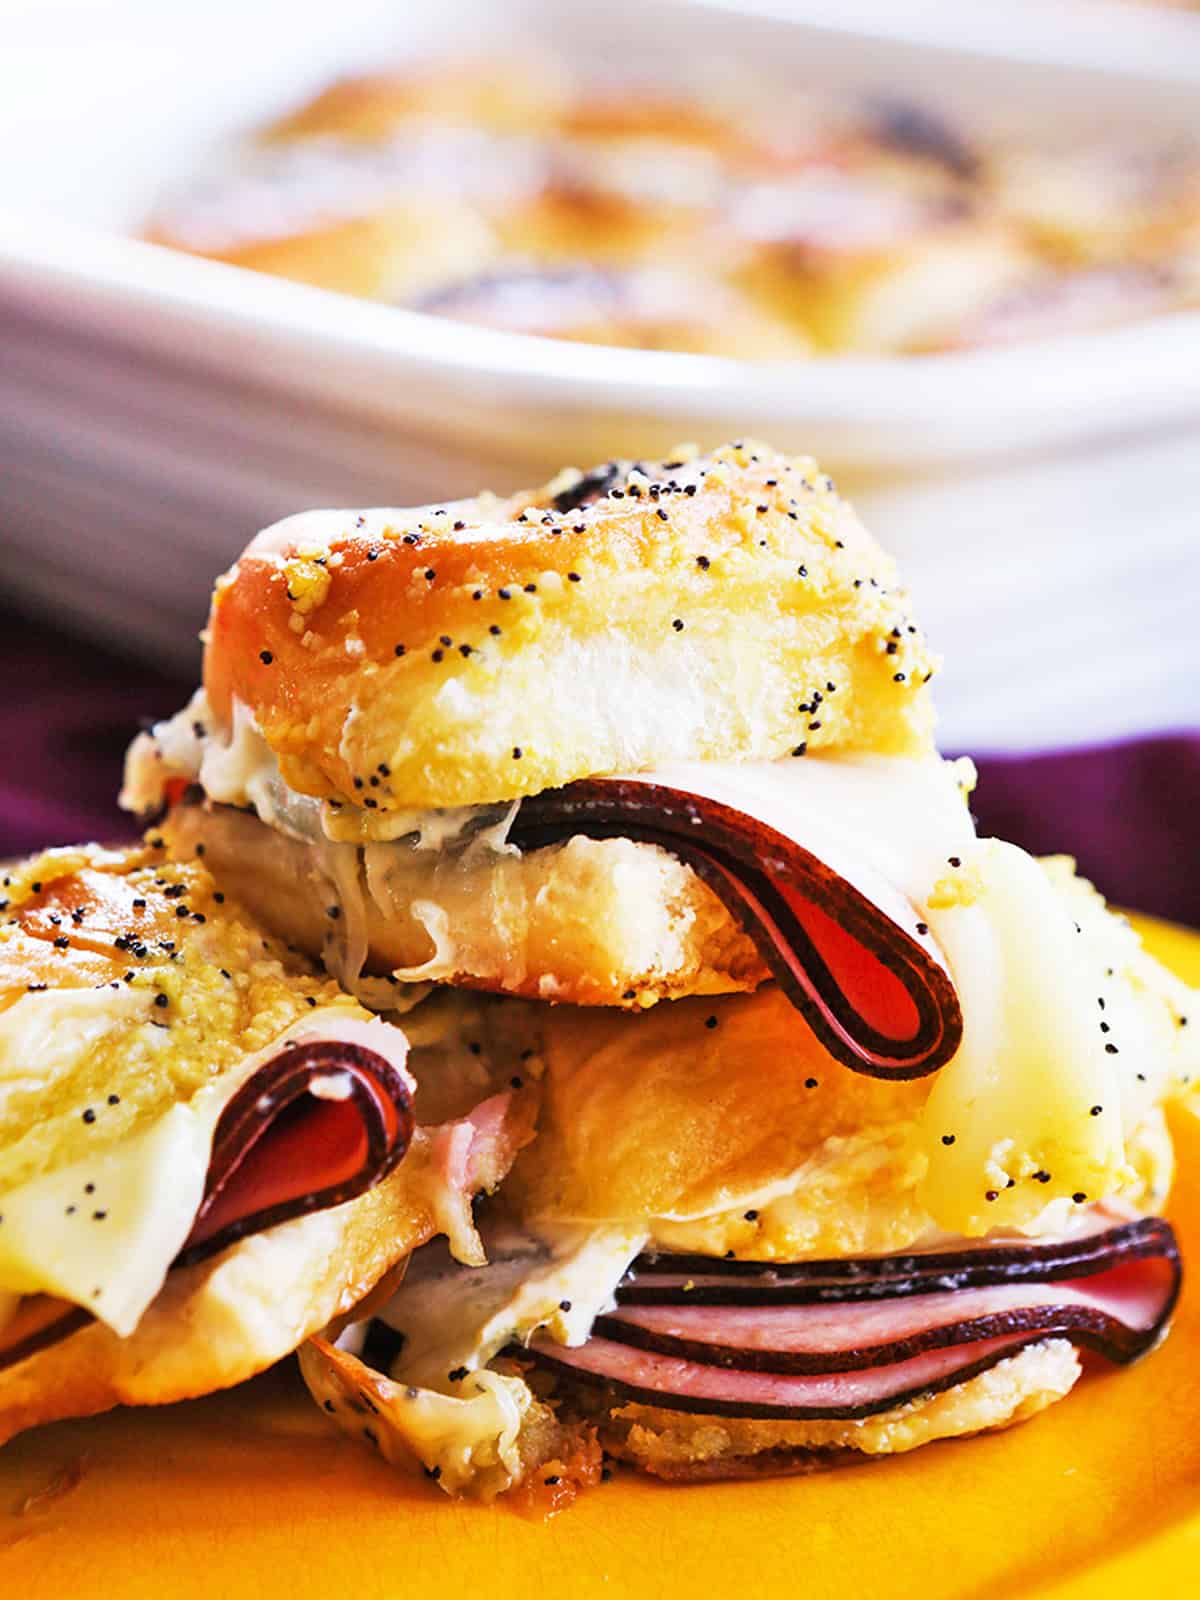
Why This Recipe Works
- The topping makes people ask for the recipe. Butter, mustard, Worcestershire sauce, dried onion and Parmesan settle into the rolls as they bake. A sprinkle of poppy seeds finishes them off.
- Cream cheese balances the sweet rolls. I spread it beneath the tops so every slider gets some alongside the ham and melted provolone.
- They’ve earned their place at my parties. I’ve made these for more than two decades, from holiday gatherings to game days. They’re easy to pick up, and the pan is always empty by the end of the night.
What People Are Saying About This Recipe
“I made these for our Christmas dinner and all of my extended family LOVED them! Cannot wait to do it this Sunday for the Super Bowl party.” — Molly
“Just want to tell you what a fantastic recipe this is, I have made it several times and the whole family loves it! I was just looking it up for Super Bowl and wanted to say thanks!” — Jen
Ingredients and Substitutions
- 15 to 20 Hawaiian sweet rolls: The number I use depends on the package and the size of the rolls. The recipe works with either amount, and you’ll see 15 rolls in some of my photos.
- 15 to 20 slices Black Forest ham: Plan on roughly one deli slice per roll. Fold the ham to fit, or use another sliced deli ham you enjoy.
- 15 to 20 slices provolone cheese: Use enough to cover the ham, then add a little more if you like your sliders extra cheesy. I love provolone here because it melts well without overpowering the topping.
- 8 ounces cream cheese, softened: Spread this on the underside of the roll tops. Letting it soften first makes that much easier.
- ½ cup salted butter, melted: This is the base of the topping that soaks into the rolls as they bake.
- 1 tablespoon mustard and 1 tablespoon Worcestershire sauce: These give the buttery topping its savory, tangy flavor. They’re part of why people always ask me, “What is in these?”
- 2 tablespoons dried minced onion and ¼ cup grated Parmesan cheese: Stir both into the butter mixture. Use dried minced onion rather than onion powder so you get those little bits of onion throughout.
- 2 tablespoons poppy seeds: Sprinkle them over the assembled sliders before baking for the familiar finish.
How to Make Ham and Cheese Sliders on Hawaiian Rolls
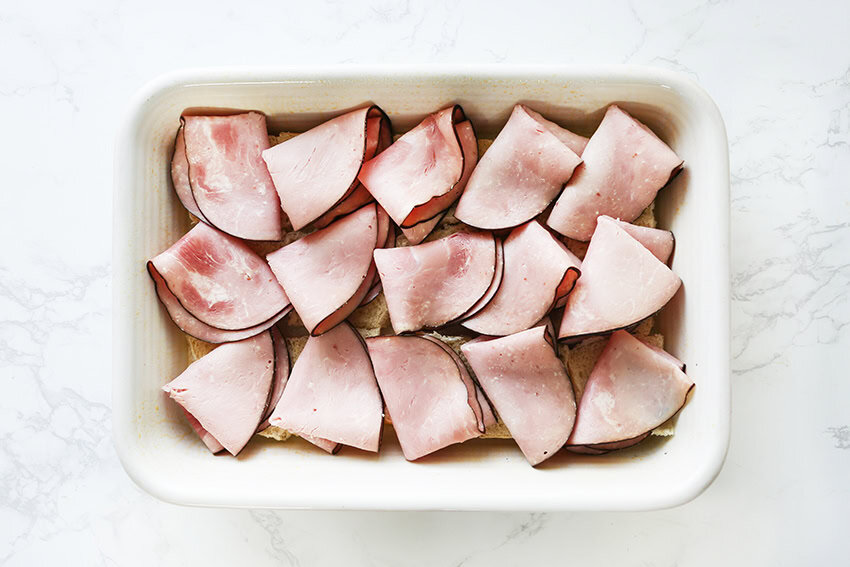
- Add the ham. Preheat the oven to 350°F and coat a 9×13-inch baking dish with cooking spray. Slice the rolls in half crosswise, place the bottoms in the dish and layer the ham on top.
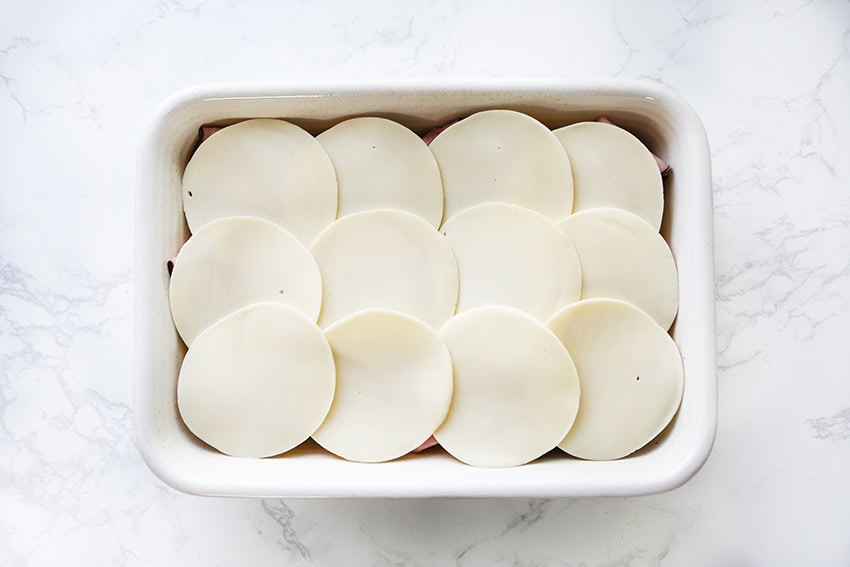
- Add the provolone. Arrange the cheese slices over the ham, overlapping them as needed to cover the sandwiches.
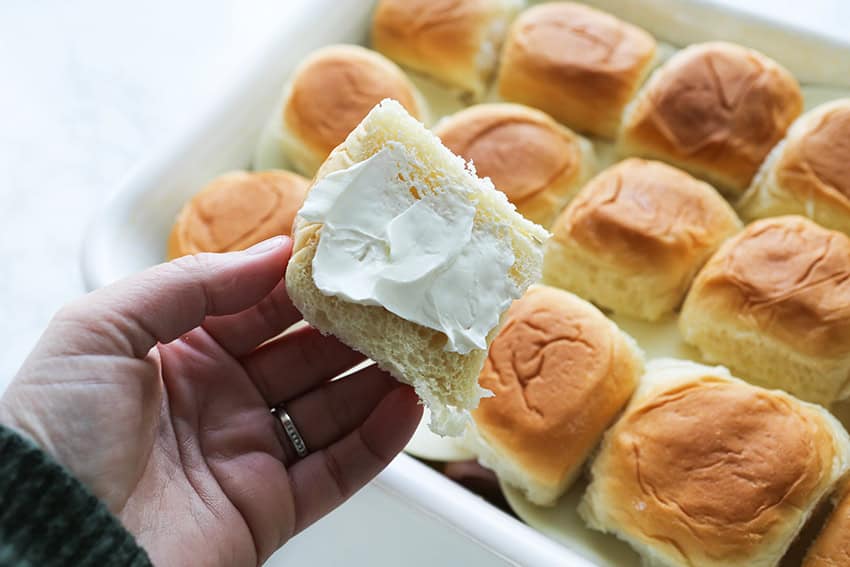
- Add the cream cheese and roll tops. Spread the softened cream cheese on the underside of the roll tops, then set them over the provolone.
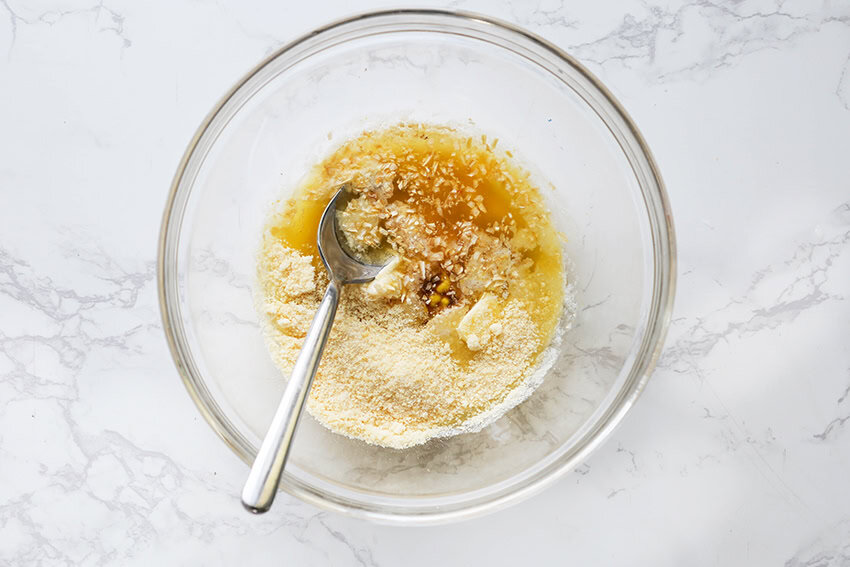
- Combine the topping ingredients. Add the melted butter, mustard, Worcestershire sauce, dried minced onion and Parmesan to a bowl.
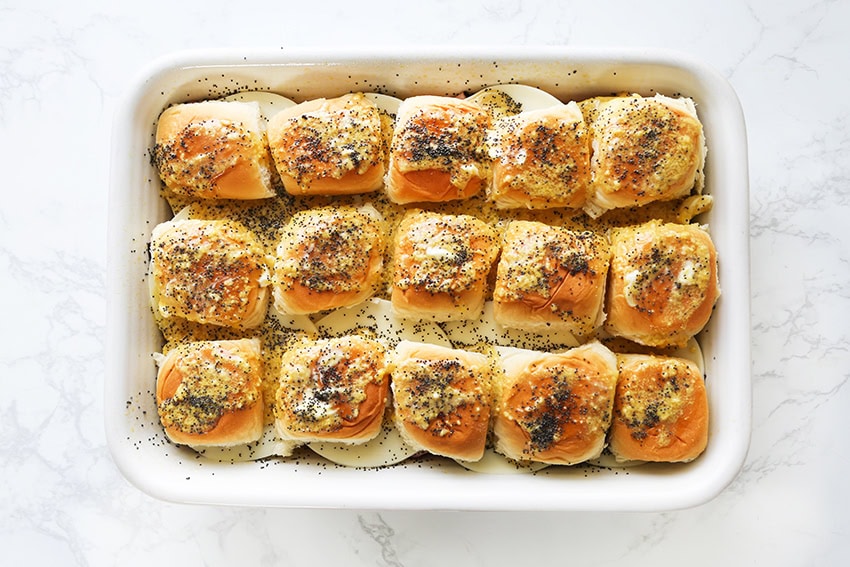
- Stir and pour. Mix the topping well, then pour it evenly over the sliders. Sprinkle with poppy seeds.
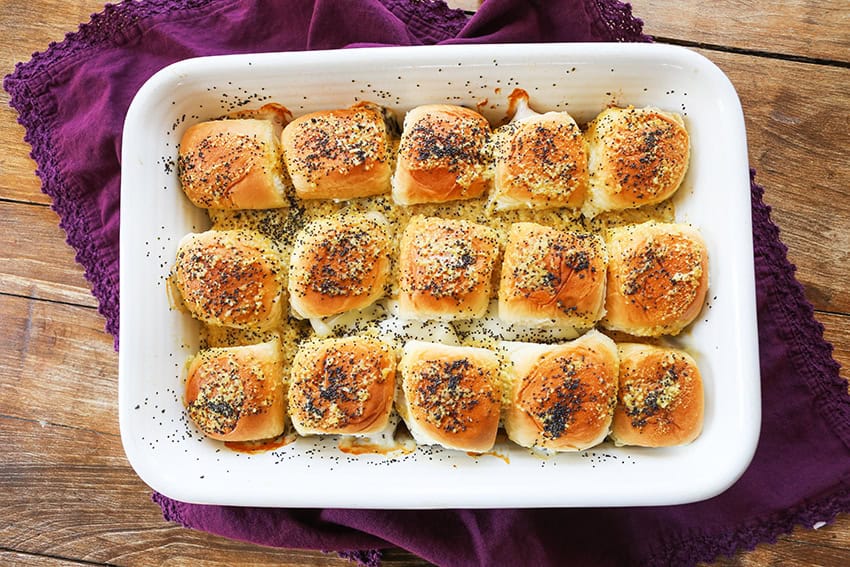
- Bake and serve. Cover the dish with foil and bake for 25 minutes, or until warmed through and the cheese has melted. Cut along the seams and serve warm.
Recipe Notes
- Choose the ham you like. Black Forest, honey and smoked ham all work here. Thinly sliced turkey or roast beef will also work if you want to change up the sandwiches.
- Swap the cheese. I love provolone with the sweet rolls and savory topping, but Swiss, cheddar or mozzarella are good options. Swiss makes these especially good with ham.
- Change the mustard. Use Dijon or honey mustard in place of yellow mustard. Start with the same 1 tablespoon called for in the recipe.
- Use what you have for rolls and onion. Regular dinner rolls work in place of Hawaiian rolls, though you’ll lose some of that sweet and savory contrast. If you’re out of dried minced onion, use 1 teaspoon onion powder.
What to Serve With Ham and Cheese Sliders
When I bring these to a party, I like to add something fresh or crunchy alongside the warm, buttery rolls. A chopped salad or fruit salad gives the plate some contrast. For a heartier spread, serve them with slow cooker baked beans.
Putting together a bigger menu? Browse my ideas for what to serve with ham and cheese sandwiches.
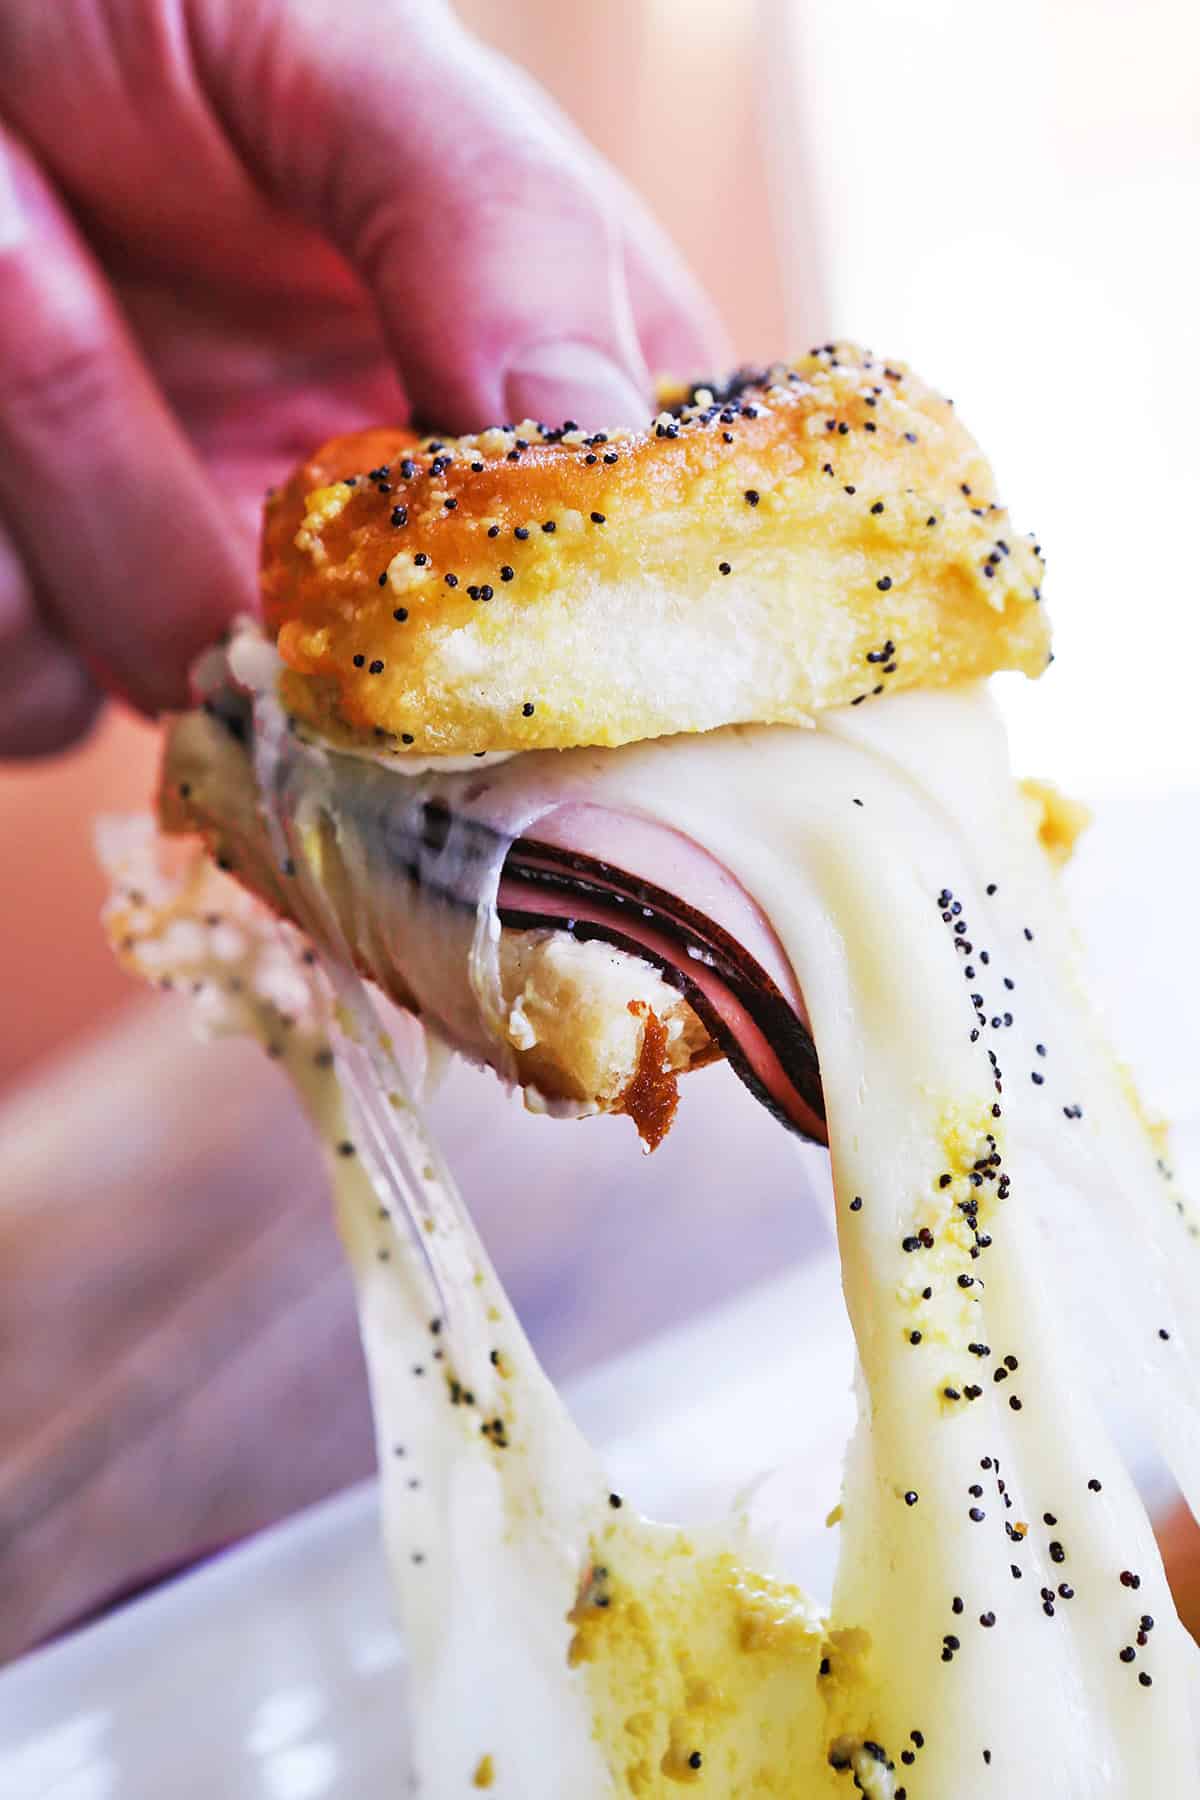
Storage and Reheating
Refrigerate: Let leftover sliders cool, then store them in an airtight container in the refrigerator for up to 3 to 4 days. Refrigerate them within 2 hours of serving.
Freeze: Wrap cooled sliders tightly and place them in a freezer-safe bag or container. Freeze for up to 1 to 2 months for the best quality. The rolls may be softer after thawing than they are fresh from the oven.
Reheat: Thaw frozen sliders overnight in the refrigerator. Place the sliders in a baking dish, cover with foil and warm in a 350°F oven until heated through. Reheat leftovers to 165°F in the center.
Frequently Asked Questions
What is the best cheese for ham sliders?
Provolone is my favorite for these sliders. It melts well, and its mild flavor lets that buttery mustard topping shine. Swiss is another great match for ham. Use cheddar if you want a sharper cheese flavor.
Can I assemble ham and cheese sliders ahead of time?
Yes! Assemble the rolls with the ham, provolone and cream cheese, then cover and refrigerate the pan. Keep the butter topping separate and pour it over the sliders just before baking. Add the poppy seeds, cover with foil and bake as directed.
Why do you cover the sliders while baking?
Covering the pan helps the sliders warm through and the cheese melt while the buttery topping settles into the rolls. Expect soft, warm sliders, rather than crisp or toasted tops.
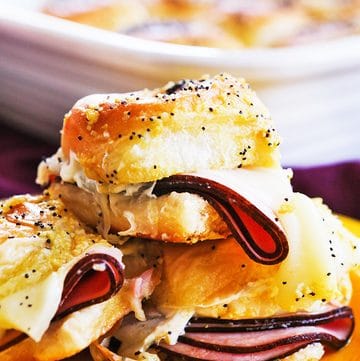
Ham and Cheese Sliders on Hawaiian Rolls
Ingredients
- 15-20 Hawaiian sweet rolls sliced in half crosswise
- 15-20 slices deli black forest ham
- 15-20 slices provolone cheese
- 8 oz cream cheese softened
- 1/2 cup salted butter melted
- 1 tbsp yellow mustard
- 1 tbsp Worcestershire sauce
- 2 tbsp dried minced onion
- 1/4 cup grated parmesan cheese
- 2 tbsp poppy seeds
Instructions
- Preheat the oven to 350°F and coat a 9×13-inch baking dish with cooking spray. Arrange the bottom halves of the rolls in the dish. Layer with the ham and provolone. Spread the cream cheese on the underside of the roll tops, then set them over the cheese.15-20 Hawaiian sweet rolls, 15-20 slices deli black forest ham, 15-20 slices provolone cheese, 8 oz cream cheese
- In a bowl, stir together the melted butter, mustard, Worcestershire sauce, dried minced onion and Parmesan. Pour evenly over the sliders and sprinkle with poppy seeds.1/2 cup salted butter, 1 tbsp yellow mustard, 1 tbsp Worcestershire sauce, 2 tbsp dried minced onion, 1/4 cup grated parmesan cheese, 2 tbsp poppy seeds
- Cover with foil and bake for 25 minutes, or until warmed through and the cheese has melted. Cut along the seams and serve warm.
Video
Notes
- Use 15 to 20 rolls depending on their size and how many sliders you need. The butter topping and cream cheese amounts stay the same.
- Swiss or cheddar can replace the provolone. Dijon or honey mustard can replace the yellow mustard.
-
To assemble ahead, cover and refrigerate the filled rolls. Keep the topping separate and pour it over the sliders just before baking. If the refrigerated butter mixture has firmed up, warm it gently until pourable.Pour the butter topping over the sliders just before baking, especially if you assemble them ahead.
Nutrition

Megan Porta is a comfort food recipe creator who specializes in easy family meals and Instant Pot desserts, and the founder of Pip and Ebby. She has been cooking for three decades and developing recipes for over fifteen years, helping home cooks make reliable, cozy recipes for real life.
Hi Alexis! You have two options: You can put these together a day in advance and bake the next day. I'd suggest keeping the mixture that you pour over the top separate until just before baking, pouring it over the sandwiches right before it goes into the oven. Also, don't add the butter to the mixture the night before since it'll harden in the fridge. Add it to the bowl right before you're ready to bake it.
OR…
You could also try baking and reheating the next day, but my thoughts are that you may as well bake just once the day of and do prep the day prior.
Hopefully that makes sense!
Megan
Can these be baked then the next morning reheated?
Hi Amanda! I've eaten them both hot and cold and they are so good both ways. You could also throw everything together, refrigerate overnight and cook the next day! Good luck!
Megan
These look amazing! I am wanting to make them for a baby shower, could I make them the night before and serve cold instead of hot?
Thanks!
Hi Lauren! Preheat your oven to 350 degrees and then put the sandwiches into the oven and bake them for 20-25 minutes. I hope this helps!
Megan
I don't understand the oven part…You preheat it to 350 and then you say to put the sandwiches in the preheated oven for 20-25mins. Do you continue to keep the sandwiches at 350 after it has reached that temperature?
Hi Rhonda! It sounds like you love these just as much as I do! Thanks for the comment!!
Megan
I just wanted to say thank you! These are delicious! Every time I make them, they're gone in just a few minutes! I follow the recipe exactly. 🙂
Hi Nicole! Spread the cream cheese onto the bottom sides of the top parts of the buns. I hope that makes sense!
Megan
What do you do with the spreadable cream cheese???
I made this for a Christmas party, and it was a hit! The recipe is easy to make and tastes delicious. Thanks for a great idea!
Hi Megan!
A good friend of mine made these for a baby shower; but used roast instead of ham to go with the theme of the shower – Dr. Seuss, thus these became Roast Beast Sliders. All I can say is O – M – G!!!!! I've been cooking for a very long time and find myself pressed with tasting something new and truly different! THESE ARE UNBELIEVABLE! She made a ton of them, so I was fortunate enough to take a small pan home, which we promptly had for dinner, lunch the next day, and hubby's lunch AGAIN the day after that!!!! These reheat very well.
For those that said these are too rich, my friend did not use all of the cream cheese on the ones that she prepared. Her vote was the same, a little rich. I myself cannot imagine such a thing!
Thanks SO MUCH for this great recipe! I'll be using it for years to come! 🙂
These are delicious. Thank you for sharing! I don't eat beef or pork, so I used slice chicken breast and followed the rest of the receipts and it was amazing.
I have made these several times and they are fantastic! I have used roast beef and horseradish and also deli roasted turkey and it was all great….never have had left overs!
J
You can use horseradish in dressing
OMG! these look amazing!
Just wanted to say I found this recipe around Thanksgiving, and made them for my family that following weekend…loved them SO much, that I made them for my company potluck as well using Ham with Swiss like the recipe above (no poppy seeds), Turkey with Muenster with Dijon mustard and poppy seeds (no parmesan cheese) and Roast Beef with Cheddar with horseradish sauce added and then sesame seeds instead of poppy seeds. Each time I have made these, they have been a favorite! A very easy and very delicious quick meal that I have now made 6 times in 4 months…that's a winner in my book!! I make them a dozen at a time though, since that is the Hawaiian rolls package size!
Going to make these for the Super Bowl Party….a pan of ham & Swiss and a pan of your Roast Beef, Cheddar and Horseradish! Sounds delish!
Yum, Kellye! ENJOY!
Megan
I am wondering how these would be using croissants instead of the rolls.
Hi Tammy! It would be just fine to omit the Worcestershire sauce. It'll be just as yummy!
Megan
Is there any substitution for the Worcestershire sauce? I'm allergic to seafood and it contains anchovies.